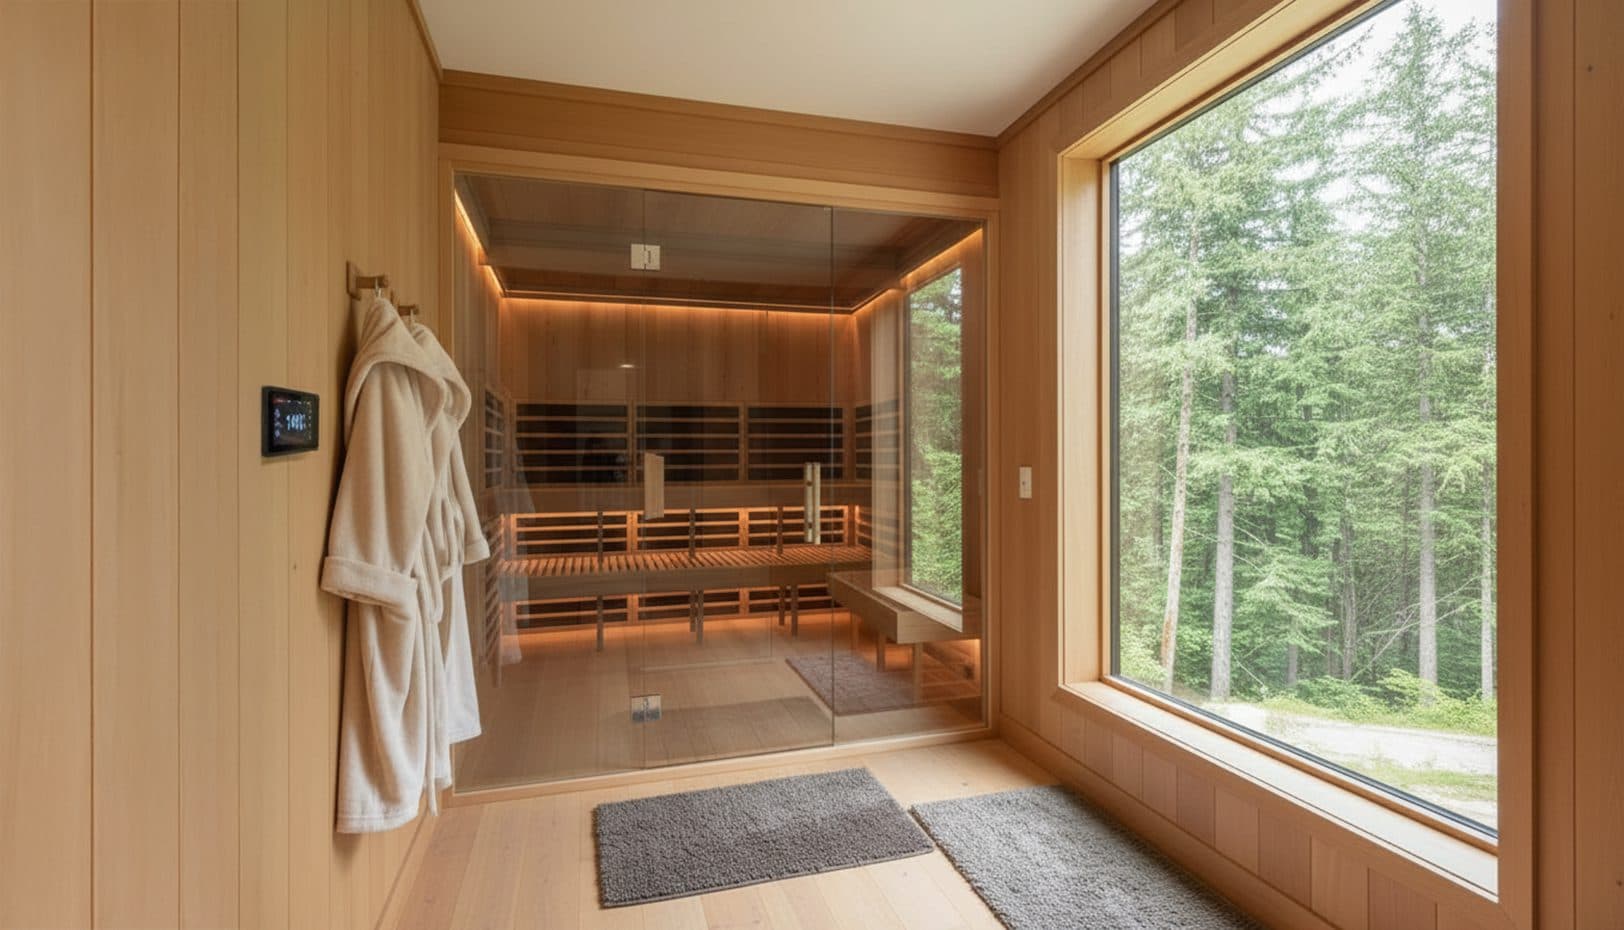
Where to Put an Infrared Sauna: 7 Placement Questions Answered With Floor Load Data
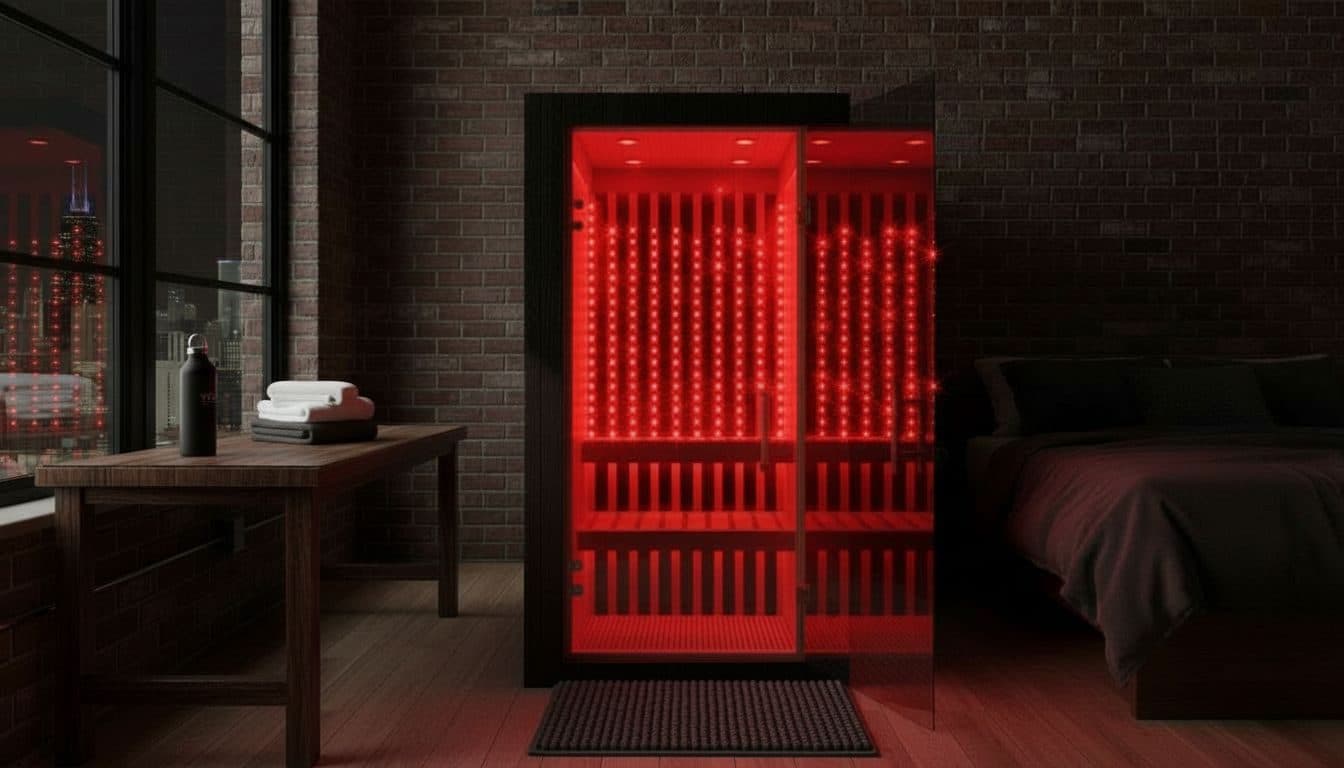
Key Takeaways
- Infrared saunas are indoor-only: untreated wood (like the Hemlock and Red Cedar used by many brands) warps and molds when exposed to moisture, and outdoor placement voids the warranty.
- Carpet is a split decision: some says it’s fine on dry, level carpet; and others warn it’s a fire hazard. The cautious consensus: avoid carpet. Use concrete, tile, laminate, ceramic, or vinyl instead.
- The spot you’ll see every day is the one that works: “out of sight, out of mind” is real. A bedroom or home gym corner beats a basement utility room you never visit.
In This Article
You’ve bought the sauna—or you’re about to. Now comes the question nobody warns you about: where do you actually put it?
The answer sounds simple, but it’s where most people get stuck. You’ve seen conflicting advice online. Carpet is fine. No, carpet is a fire hazard.
The garage works. The garage is too cold. Upstairs? That’s too heavy.
Second floor? No problem, here’s the math.
Meanwhile, your sauna is sitting in a box in the hallway, and every day you walk past it, you feel a little more overwhelmed.
There’s no single “best” spot for every home. But there is a spot that works for your home—and it depends on two things: technical feasibility (can this room physically support the sauna?) and daily-use psychology (will you actually walk past this spot every day?).
After helping homeowners find their spot, we’ve noticed that the technically perfect placement often isn’t the one that gets used. Let’s walk through every option, room by room, so you can make a decision you’ll stick with.
Can you put an infrared sauna outdoors? The indoor-only rule (and one exception)
Let’s clear this up first because it’s the most common question we get.
Infrared saunas are designed for indoor use. Period. The reason is simple: most pre-built units use untreated wood. Some, for example, choose untreated Hemlock and Red Cedar specifically to avoid off-gassing.
That’s great for indoor air quality. But it means the wood has zero protection against moisture. Put it outside, even on a covered patio, and you’re asking for warping, mold, and a voided warranty.
A covered patio isn't safe from ambient moisture, temperature swings, and pests. In Canada, the Wellness Shop explicitly warns that infrared saunas aren't rated for outdoor use because the temperature fluctuations are too extreme.
The one exception: a fully enclosed, climate-controlled 3-4 season room, sunroom, or enclosed porch. If the space is sealed, dry, and kept at a stable temperature year-round, the sauna will be fine. Sauna Supply Co. has a real-world example: a client built a panel sauna using Western Red Cedar and a Douglas Fir door on their cabin porch. But this is a narrow exception, not a general recommendation.
If you want a true outdoor sauna, you need a custom build with proper siding, roof, and an electric or wood-fired stove. That’s a different project entirely.
What flooring do you need? (The carpet conflict resolved)
The internet disagrees on this point.
Some say: Carpet is fine. You can put the sauna on any dry, level flooring, including carpet. No special prep needed.
Others say: Carpet is a fire hazard. Don’t do it.
So who’s right?
The cautious consensus wins. Avoid carpet. Here’s why:
- Carpet is a combustible material near a heat source. Even though infrared saunas don’t get as hot as traditional steam saunas, the heating elements still get warm. It’s risk management, not certainty.
- Carpet can trap moisture. Infrared saunas produce very little moisture compared to steam, but over time, any moisture that does escape can get trapped in the carpet fibers, leading to mold or mildew.
- The weight of the sauna compresses carpet over time, leaving permanent indentations.
Best flooring options: Concrete, tile, laminate, ceramic, vinyl—any hard, moisture-resistant surface works. If you already have carpet in the room you’re considering, you can put a rigid mat or plywood sheet underneath the sauna, but the safest bet is a hard floor.
Bottom line: If you can avoid carpet entirely, do it. A hard, level surface is the only guarantee.
Basement placement: Popular but requires dry, climate-controlled conditions
Basements are a top choice, and for good reason: they’re private, spacious, and often close to the electrical panel. Smart Sauna notes that most basement utility rooms are unfinished, which means you’ve got direct access to wiring and plumbing without tearing down walls.
But there’s a non-negotiable: the basement must be dry and climate-controlled. A damp, musty basement is a dealbreaker. If you have moisture issues—cracks in the foundation, high humidity, a sump pump that runs constantly—fix those first. Use a dehumidifier to keep humidity below 60%.
Why basements work well: The surrounding soil provides natural insulation, helping the sauna retain heat. And because far infrared light is antimicrobial (a claim from High Tech Health), it reduces the risk of mold buildup inside the sauna itself—a nice bonus for a basement environment.
Practical tip: Put the sauna near the utility room. That means shorter electrical runs, easy access to a drain if you ever need one, and no need to finish the space before installing.
Garage placement: Space and ventilation, but cold slows warm-up
Garages offer room to breathe and natural ventilation—two big wins. Hallmark saunas are installed in garages and work fine.
The trade-off: Cold temps slow the warm-up. An uninsulated garage in winter means the sauna might take 10–15 minutes longer to reach temperature. That’s not a problem for the sauna itself—the wood and electronics are fine—but it’s something to plan for.
If you’re going this route, insulating around the sauna (not the whole garage) is a smart investment. You can build a small enclosure or just put up rigid foam panels behind and beside the unit. It saves energy and speeds up sessions.
Garages also give you natural separation from the living space—some people love that dedicated wellness zone, others find it inconvenient. Be honest about whether you’ll trek out to the garage every day.
Bathroom placement: Spa-like but avoid direct water
A bathroom can feel like a personal spa. You’ve got moisture-resistant materials already in place, and a cold shower nearby for after your session. High Tech Health lists bathroom as a viable option, but with one condition: no direct water contact.
That means positioning the sauna away from the shower or tub. You don’t want water splashing onto the unit. And because infrared saunas produce very little moisture, standard bathroom walls and floors are fine—no vapor barrier needed. Good ventilation is critical, so use the existing exhaust fan or crack a window, and keep in mind that infrared panels put far less strain on your respiratory system than old-fashioned hot rock rooms.
For traditional steam saunas: Different story. They generate real humidity, so you’d need waterproof walls, vapor barriers, and drainage. But for infrared, a bathroom works beautifully with minimal prep.
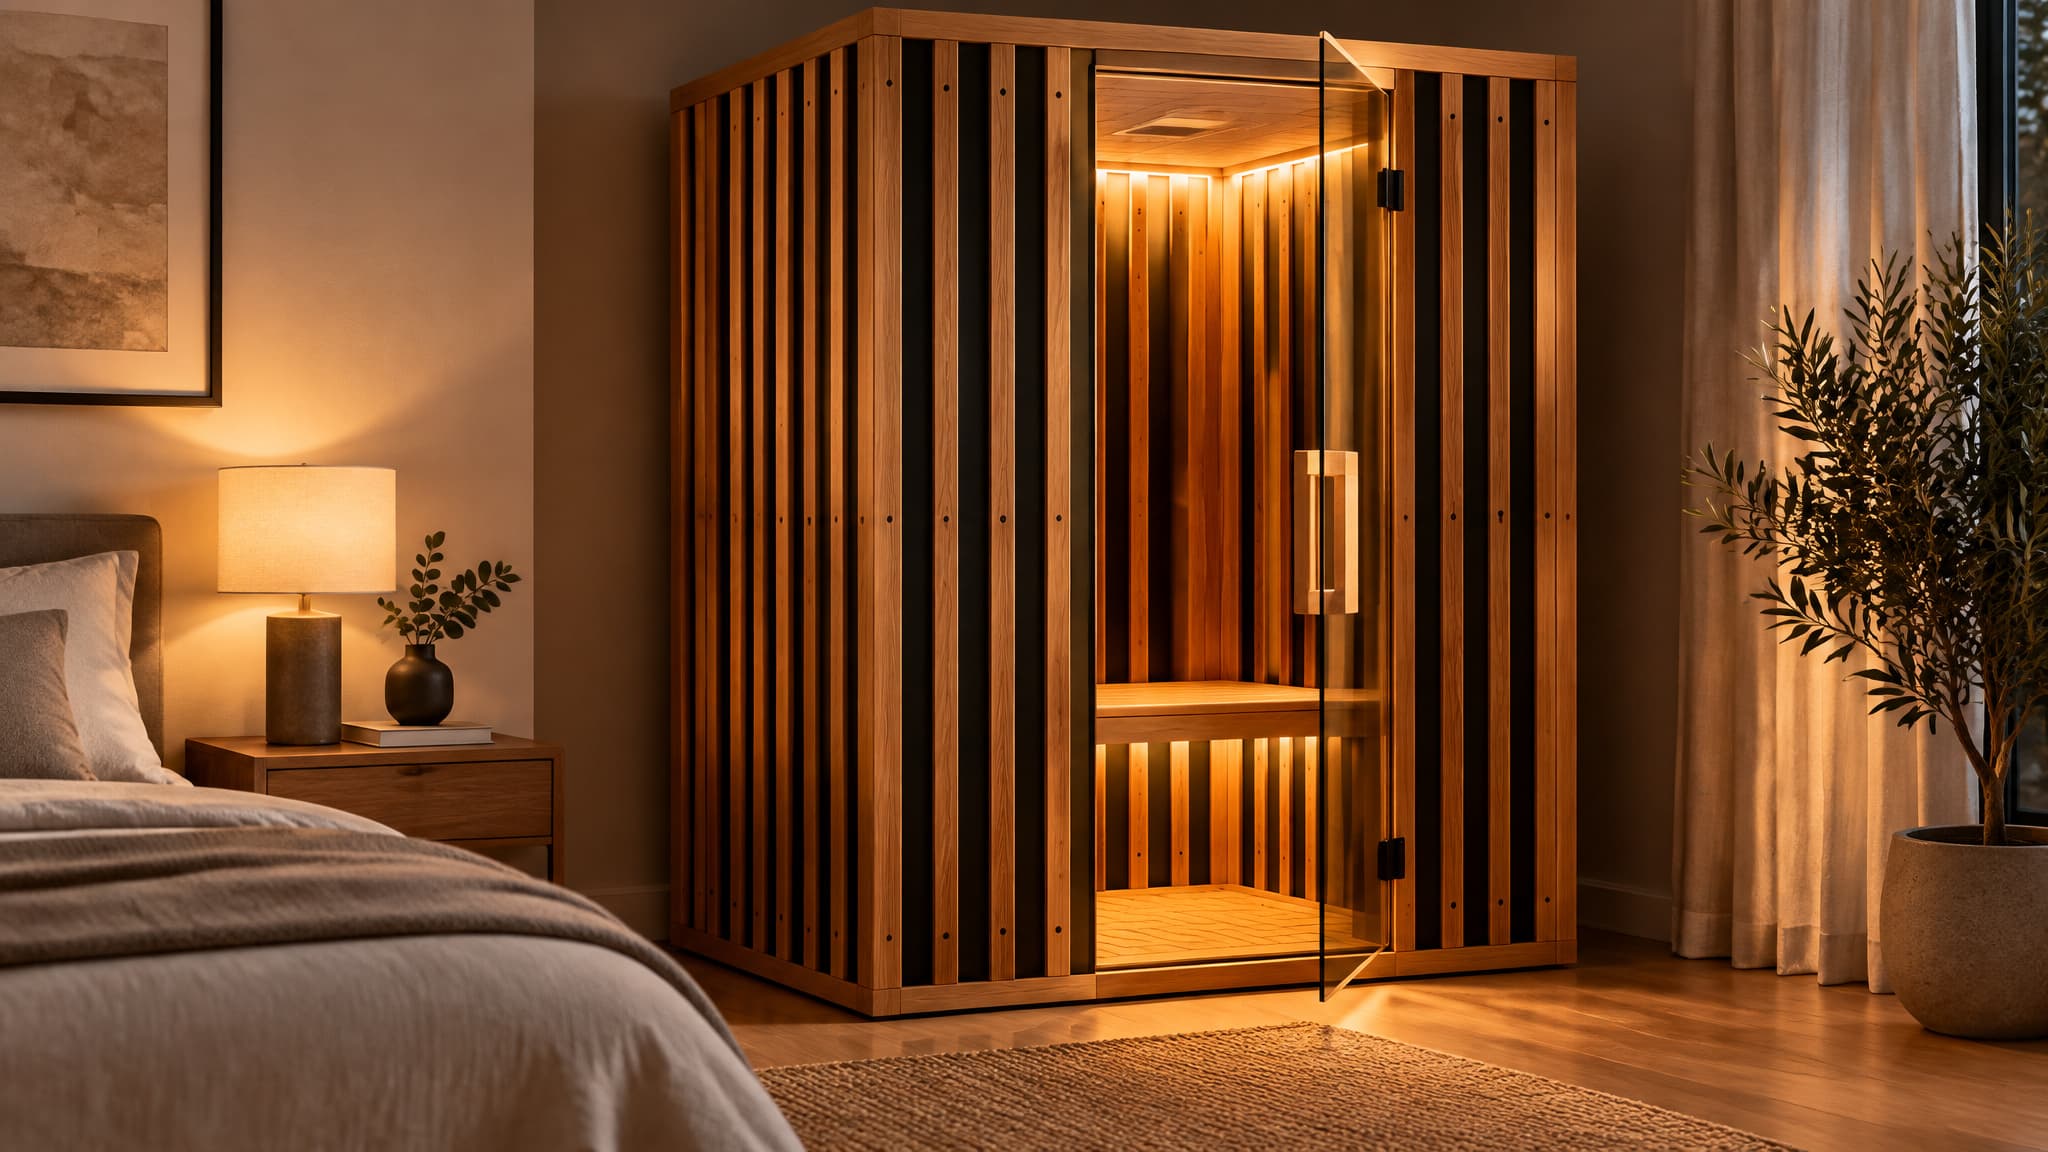
Bedroom placement: Most common, encourages daily use
This is the #1 spot, and it’s not close. High Tech Health lists the bedroom as a common placement, and we’ve seen the same pattern.
Why? It’s simple: you see it every day. You walk past it morning and night. The “out of sight, out of mind” effect is real—a sauna hidden in a spare room or basement gets used a few times, then becomes a storage shelf. A sauna in your bedroom or right next to your master bedroom gets used weekly, if not daily.
Practical setup: A quiet corner of the bedroom offers privacy. You’re also right next to the bathroom for a post-session shower. Some clients put the sauna in an adjacent master bedroom closet or a nook off the hallway. The key is visibility.
Walk-in closet placement: Discreet, compact, requires minimum 4x4 feet
If you have a walk-in closet you’re not fully using, it can house a compact 1-2 person sauna. Some fit in a closet or can even be built into a wall compartment.
Requirements:
- Minimum usable floor space: about 4x4 feet
- Ceiling height: at least 7 feet
- A nearby electrical outlet (the power cord is typically 6 feet long)
- A ventilation gap at the bottom of the door
- Clear out anything flammable from the closet
It’s discreet, space-efficient, and keeps the sauna out of your main living area. Just make sure the closet has enough room to open the door (it swings outward) and step in comfortably.
Second floor and upstairs placement: Feasible with structural support
A lot of people worry that an infrared sauna is too heavy for an upstairs room. The math says otherwise.
The numbers: Residential floors are typically rated for 40–50 pounds per square foot. A 1-2 person infrared sauna weighs maybe 200–300 pounds and has a footprint of about 36" x 36" (9 square feet). That’s roughly 22–33 pounds per square foot—well within the safe range. Larger models might push closer to the limit, but are still generally fine, especially if you place an aromatherapy disc on the bench floor away from heaters to enhance the experience.
The real challenge: Getting the sauna upstairs. But infrared saunas are modular—they come as panels, most under 30 inches wide. That means they fit through standard doorways and stair turns. You can carry the panels up, assemble them in the room, and if you ever move, disassemble and take them with you. For outdoor installations, this guide on planning an outdoor infrared sauna covers everything from location and foundation to electrical and weather protection.
Before you order: Measure your doorways, hallways, and stair turns. Make sure the panels can actually get to the room. And if you’re putting a larger sauna on a second floor, it’s smart to spread the weight across multiple floor joists—place it perpendicular to the joists, not parallel.
Attic placement: Possible but rarely first choice
Can you put a sauna in an attic? Yes, technically. Passport saunas can be installed in attics. But it’s rarely the first choice.
Considerations:
- Structural load: attics aren’t always built to handle the same weight as main floors. Check the joist spacing and consult a professional if unsure.
- Ventilation: attics trap heat. Proper airflow and insulation are critical to prevent overheating the space and to keep the sauna’s electronics happy.
- Access: getting the panels up into an attic is a pain, and you’ll need to climb stairs every time you use it.
If you have a finished attic with easy access and good climate control, it can work. But for most people, a bedroom or basement is a better bet.
Spare room or home spa room: Full control, dedicated wellness space
If you have a spare bedroom you’re not using, congratulations—you’ve found your spot. You have total control over the setup: electrical, ventilation, moisture management, noise, lighting. You can create a genuinely peaceful space centered on the sauna.
Cost context: Pre-built infrared saunas range from about $1,900 to $10,000+. A custom traditional sauna room build-out runs $5,900 to $8,000+. A spare room gives you the flexibility to do either, but you can start with a pre-built kit for under $2,000 and see how you like it.
Bonus: You can decorate—soft lighting, a towel rack, plants, an aromatherapy diffuser. Make it a room you want to spend time in.
Corner placement: Cost savings and thermal efficiency
Putting the sauna in a corner is a smart move for two reasons: it saves money on materials and improves heat retention.
When you place a sauna in a corner, two sides are already against existing insulated walls. That means you don’t need to frame or insulate those sides—the studs are already there.
Thermal bonus: Two insulated walls help contain the heat, so you’re not wasting energy warming the surrounding room. And corner placement saves floor space in the room—a practical win for smaller homes.
Under stairwell placement: Creative use of unused space
That awkward space under the stairs? It can house a sauna, if the dimensions work. Smart Sauna mentions under-stairwell as a viable location.
Caveats:
- Ceiling clearance is the biggest issue. Stairwells often have sloping ceilings, so you need a compact 1-2 person unit that fits under the highest point.
- You’ll need a nearby electrical outlet and a path for ventilation.
- The space must be dry and free of moisture issues.
It’s a creative use of dead space, but it’s not for everyone. Measure twice, and make sure you can actually stand up inside the sauna once it’s installed.
Porch placement (3 or 4 season): Feasible with proper enclosure
We mentioned the exception to the indoor-only rule earlier. A 3-4 season enclosed porch that’s fully climate-controlled and dry can work. Sauna Supply Co. has a real-world example: a client built a panel sauna with Western Red Cedar and a Douglas Fir door on their cabin porch.
What makes it work: The porch is sealed, insulated, and stays dry. You can run power from outside the building, avoiding wall penetrations. It gives you an indoor-outdoor feel without exposing the sauna to the elements.
But this is an exception, not a general recommendation. If your porch is open to the air, gets damp, or isn’t temperature-controlled, don’t do it.
Electrical requirements: Do you need an electrician?
This is where most placement decisions are made or broken. The good news: smaller infrared saunas are surprisingly easy to power.
1-2 person infrared models: Plug into a standard 120V/15A outlet. No electrician needed. That’s it. Most models come with a 6-foot power cord (High Tech Health), so you need to place the sauna within 6 feet of an outlet. No extension cords—they’re a fire hazard and will void your warranty.
3+ person infrared models: May require a dedicated 120V/20A or 240V circuit. This is where you call an electrician. The cost to add a dedicated 20A circuit runs $150–$500.
Traditional steam saunas: Different ballgame. They need a dedicated 240V circuit (30–60 amps), plus a separate 120V outlet. And if you’re installing a hybrid sauna (infrared + steam), treat it like a traditional sauna—same electrical and moisture prep.
Bottom line: For a 1-2 person infrared sauna, find a standard outlet within 6 feet. For anything larger, budget for an electrician.
Space and ventilation: What you need to know
You don’t need a dedicated HVAC system, but you do need to respect a few basic measurements.
Minimum ceiling height: 6 feet 10 inches to 7 feet. Plus at least 5 inches of clearance above the sauna for airflow and assembly. If your ceiling is lower, you’ll need a shorter model or a different spot.
Side clearance: 3–6 inches on the sides that aren’t against a wall. This allows air to circulate around the unit and gives you access for maintenance.
Door swing: Sauna doors always swing outward (safety requirement). Make sure you have clear floor space in front of the door to open it fully and step in/out comfortably.
Ventilation basics: Fresh air comes in near the floor, stale air exits near the ceiling. For compact infrared units, a simple gap under the door is often enough. For traditional saunas, you need dedicated intake and exhaust vents on opposite walls. Bad airflow leads to uncomfortable sessions, poor air quality, and faster wear on the sauna.
Minimum footprint: A 1-2 person infrared sauna needs about 36" x 36" of floor space. Walk-in closet placement requires at least 4x4 feet.
Pre-built kits vs custom builds: Which is right for you?
Most people reading this will go with a pre-built kit, and that’s the right call for the vast majority of homeowners.
Pre-built kits: Self-contained, modular panels. Assemble in under an hour for a 1-2 person model. You can take it apart and move it if you relocate. Price range: $1,900–$10,000+. No permanent construction needed.
Custom builds: Permanent. Requires framing, insulation, vapor barriers, and a dedicated electrical circuit. Cost: $5,900–$8,000+ (Wellness Shop). You can’t move it, and you’ll need to finish the room properly.
The recommendation: Start with a pre-built kit. It’s low-risk, you can move it later, and you’ll know within a month whether you actually use it enough to justify a permanent build-out.
The best spot? The one you’ll actually use
We’ve covered the technical side—floor load, clearance, electrical, ventilation. But here’s the part most guides miss: the spot you’ll walk past every day is the one that works.
High Tech Health calls it the “out of sight, out of mind” effect. We’ve seen it play out in installations. Clients who put saunas in their master bedroom or home gym use them frequently. Clients who put them in a spare bedroom in the back of the house use them rarely. The difference wasn’t the room—it was the routine.
The two questions you need to answer for every potential spot:
- Does this space meet all the technical requirements (dry, climate-controlled, proper flooring, sufficient clearance, nearby outlet)?
- Will I walk past this spot every day?
If both answers are yes, you’ve found your spot.
Making it inviting: Soft lighting, a towel rack, a rug, some plants, an aromatherapy diffuser. Little touches turn a sauna corner into a mini retreat. You don’t need a spa budget—string lights and a stool for towels are enough.
Common mistakes to avoid when installing your infrared sauna
These mistakes are common. They’re easy to avoid if you know what to look for.
- Skipping ventilation. Even compact infrared units need airflow. A door gap is usually enough, but don’t seal the room tight.
- Inadequate electrical planning. Extension cords are a hard no. If the sauna can’t reach an outlet, call an electrician.
- Ignoring existing moisture problems. Damp basements, leaky roofs, high humidity—fix these before you install. The sauna won’t solve them.
- Insufficient clearance. Not leaving 3–6 inches on the sides or 5+ inches above. This affects airflow and makes assembly impossible.
- Skipping permits. Some jurisdictions require permits for dedicated circuits. Check with your local building department.
- No maintenance access. Positioning the sauna where you can’t reach the back panel for repairs. Leave a few inches of access.
- The “out of sight, out of mind” trap. The biggest mistake: putting it in a rarely used room. Be honest about your habits.
Your sauna, your space, your routine
Here’s the decision framework in two questions:
- Does this space meet all technical requirements? (Dry, climate-controlled, proper flooring, clearance, electrical within 6 feet, ventilation.)
- Will I walk past this spot every day? (Visible, accessible, part of your natural path through the house.)
If both answers are yes, stop searching. You’ve found your spot.
If you’re still unsure, start with the most visible location that meets the technical basics. You can always move a pre-built kit later. The goal is to get the sauna out of the box and into your life. The rest is details.
Frequently Asked Questions
Can a person with a pacemaker use an infrared sauna?
Most manufacturers and medical professionals advise against it unless you've gotten explicit clearance from your cardiologist. The electromagnetic fields from the sauna's heating elements and wiring can potentially interfere with pacemaker function. Even low-EMF models aren't guaranteed safe, so always consult your doctor first.
Can you put an infrared sauna on carpet?
It's risky. Some manufacturers say carpet is fine on dry, level surfaces, but others warn it's a fire hazard because carpet is a combustible material near heat sources. Carpet can also trap moisture and get permanently compressed under the sauna's weight. The safest bet is a hard, moisture-resistant floor like tile, laminate, or concrete.
How much space do you need around an infrared sauna?
You need at least 5 inches of clearance above the sauna for airflow and assembly, plus 3–6 inches on the sides that aren't against a wall. The door swings outward, so leave enough floor space in front to open it fully and step in comfortably. A 1-2 person unit needs about 36x36 inches of floor space minimum.
Is it safe to put an infrared sauna on a second floor?
Yes, in most cases. Residential floors are typically rated for 40–50 pounds per square foot, and a 1-2 person infrared sauna weighs about 22–33 pounds per square foot. The bigger challenge is getting the modular panels upstairs through doorways and stair turns. Just make sure to place the sauna perpendicular to the floor joists to spread the weight.
What's the best room in the house for an infrared sauna?
The bedroom is the most common and effective spot because you see it every day, which encourages regular use. A home gym or a spare room you walk past frequently also works well. The technical requirements are the same—dry, climate-controlled, hard flooring, and within 6 feet of an outlet—but the room you'll actually use is the one that wins.

Founder & Lead Designer, SaunaCloud®
SaunaCloud: 3,000+ installations since 2014 · Author of The Definitive Guide to Infrared Saunas · Featured in Forbes, Inc., and MSN
Christopher designs every SaunaCloud sauna. His work brings the room, heaters, controls and installation plans together so you can review the project before committing. His professional expertise is sauna design and construction, not clinical medicine.
Custom 3D renderings and a proposal in 24-48 hours.
Ready to Design Your Sauna?
Every project starts with a conversation. Tell us about your space and we'll create your custom plan — free, no obligation.
Custom 3D renderings and a proposal in 24-48 hours.