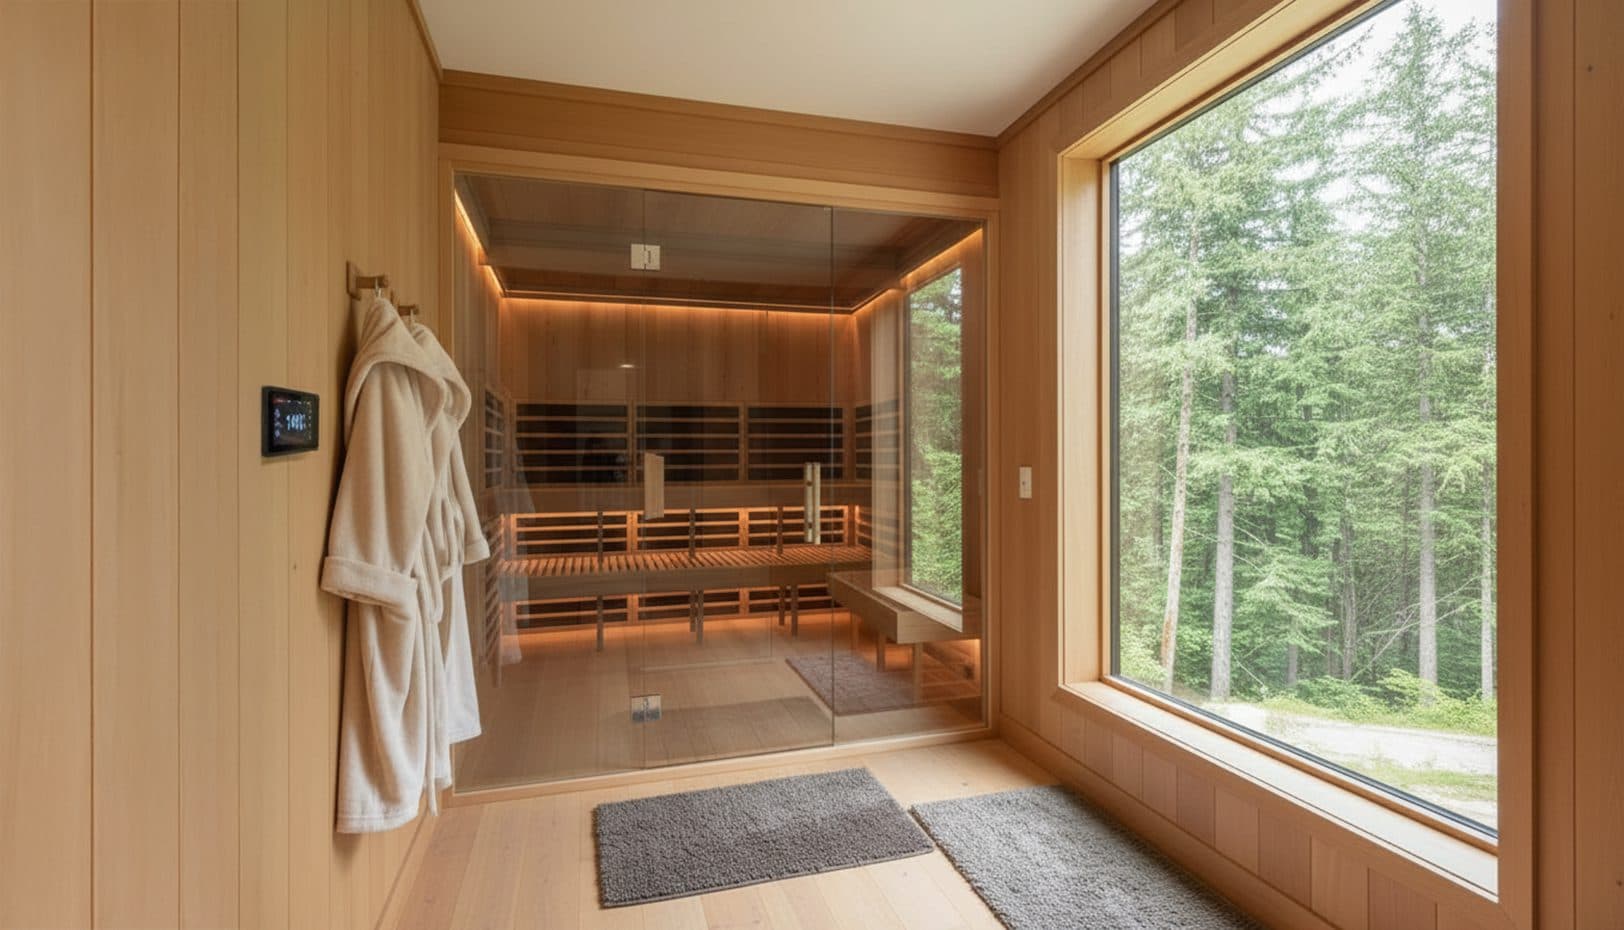
How to Take Care of Infrared Sauna: Daily Habits, Heater Tips, and Wood Care
Key Takeaways
- The one-hour door-open rule after every session is the single most effective moisture control measure—skip it and you're inviting mildew.
- A quick rinse before you sit, a towel on the bench and floor, and a wipedown after use are all you need for daily upkeep; deep cleaning every two weeks handles the rest.
- Heater type dictates cleaning method: dust carbon flat panels, use a damp sponge on ceramic True Wave heaters, and compressed air for Tecoloy heaters—always let them cool first.
In This Article
If you’ve just bought a handcrafted infrared sauna, you’re probably wondering how to keep it from looking like a gym locker in six months. The good news: it’s less work than you think. The bad news: the wrong approach can cause more damage than neglect. Unlike traditional saunas that rely on high heat and steam, infrared saunas operate at lower, more comfortable temperatures, which changes how you care for them.
The single most common mistake we see at SaunaCloud? Owners using the wrong cleaning products or sealing the wood, thinking they’re helping. Infrared saunas use dry heat and heat your body directly—unlike steam rooms—so the maintenance needs are different. The interior wood is intentionally left untreated and unfinished so it can breathe and expand with temperature changes. Paint or varnish will trap moisture and lead to cracking.
This guide comes from years of building custom saunas and seeing what actually works. No guesswork—just the routine that keeps your sauna performing and safe.
Preventive Habits: The Daily Routines That Make the Biggest Difference
The best way to prevent mold and mildew is to never give moisture a chance to settle. That starts with three simple habits that take about five minutes total after each session.
Shower Before You Sit
A quick rinse—just water, no soap needed—gets rid of the day’s dirt, oils, and bacteria before they hitch a ride into the sauna. Pat dry, then hop in. Less stuff entering the sauna means less stuff you have to clean off the wood later. Think of it like brushing your teeth after a meal: quick, non-negotiable, keeps things from getting gross.
Use Towels as a Barrier
Your sweat is going somewhere. A microfiber or cotton towel on the bench and another on the floor catches the moisture and body oils before they soak into the porous wood. Wood is like a sponge—it’ll absorb everything you leave on it. After your session, remove those towels immediately. Damp towels sitting in a warm, dark sauna are a mold’s dream home.
The One-Hour Dry-Out Rule
After you’ve wiped down the bench (a quick swipe with a hand towel is enough), leave the door fully open for 60 minutes. This is non-negotiable. Closing it early traps humidity inside, and that’s the top cause of mildew we see. If your sauna has a roof vent, crack that too. Letting the warm air circulate and the wood fully dry is the cheapest insurance you can buy.
Deep Cleaning Schedule: How Often and What to Hit
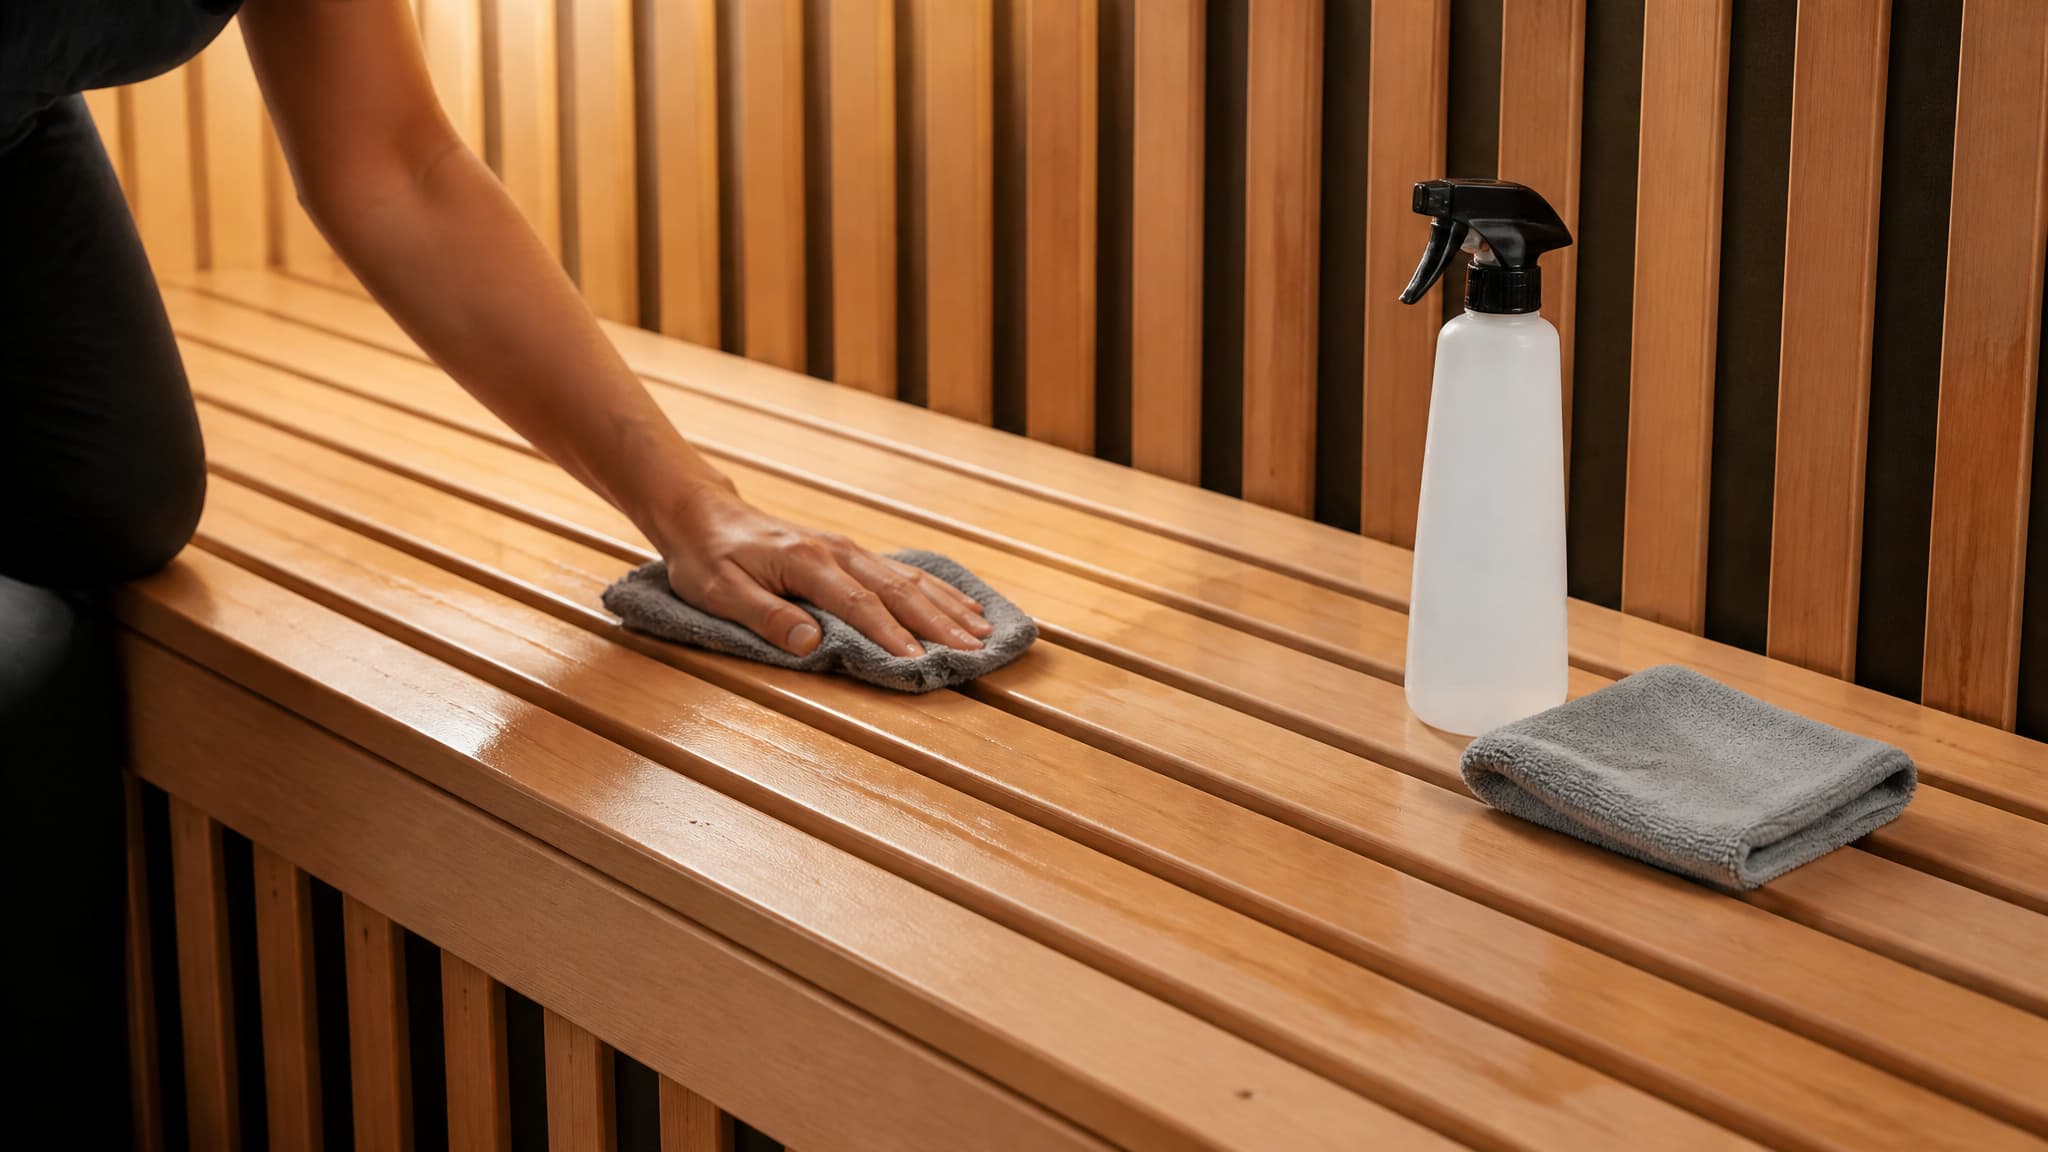
Spray the cleaner onto the cloth outside the sauna, never inside, to avoid overspray landing on the wood or the heater. That’s the golden rule for glass, and it’s a good example of why a dedicated cleaning routine matters.
Every two weeks, a thorough wipe-down of the bench and floor keeps buildup from settling into the wood.
The sweet spot for deep cleaning is every two weeks—frequent enough to prevent buildup, infrequent enough that you’re not over-wetting the wood. Here’s the simple calendar:
- Daily (after each use): Wipe down the bench, backrest, and any high-touch areas with a barely-damp cloth. Remove towels. Leave door open.
- Every two weeks: Thoroughly clean the bench, floor, walls (if needed), and glass. Vacuum the floor with a hand attachment first to get dust out of the cracks.
- Monthly: Dust the interior and exterior—top, sides, back, and those little crevices. On Inspire models, pay extra attention around the recessed lighting; dust loves to hide there.
Cleaning the Bench and Floor
Use a damp cloth, not a wet one. Too much water on the wood is counterproductive. For stubborn spots, a soft-grit sanding sponge (150 grit) can be used gently—like erasing a pencil mark. Vacuum the floor monthly to pull out debris from between the slats.
Cleaning the Walls and Exterior
Walls don’t get as dirty as the bench, but they still need attention. Dust them monthly, then wipe with a damp cloth as needed. For the exterior, a mild detergent and water work fine—just keep it off the interior wood.
The Right Way to Clean Sauna Glass
Spray the cloth, not the glass. Then wipe the glass clean. This prevents cleaner mist from landing on the wood or, worse, on the heaters. Standard glass cleaner works—just make sure it never touches the interior surfaces, which should instead be cleaned as part of a full how to clean an infrared sauna walkthrough.
Heater-Specific Care: A Guide for Carbon, Ceramic, and Tecoloy
How do you clean the infrared heaters in your sauna? The prerequisite is always the same: let the heater cool completely first. Burns are no joke, and thermal shock can crack ceramic elements. Once it’s cool, the method depends on your heater type, but if the sauna wood itself needs attention, you can also follow the same approach used for how to clean infrared sauna wood.
Carbon Flat Panels (Enrich Series)
These are fabric-based panels. Dust them gently with a soft cloth or a vacuum with a brush attachment to maintain the fabric’s integrity. No moisture—just dry dusting.
Ceramic True Wave Heaters (Clearlight)
True Wave heaters use a ceramic compound that produces negative ions, which helps purify the air as a built-in bonus. Clean them with a damp sponge to wipe away any debris. A lint roller can also work on the guard if dust has collected. The ceramic is durable, but avoid soaking it.
Tecoloy Heaters (Health Mate)
These have a more complex shape with narrow cavities that trap dust. Compressed air—the kind you use for keyboards—is your best bet. Blow the dust out from inside the casing. A damp sponge can handle the outer surfaces, but compressed air gets into the hard-to-reach areas.
Wood Care: The Do’s and Absolute Don’ts
The risks of not maintaining your infrared sauna properly boil down to one thing: moisture buildup shortens the wood’s lifespan, UV light can cause warping, and lack of cleaning leads to mold and mildew. The good news is that the prevention is straightforward: follow a practical daily and weekly routine for how to take care of infrared sauna at home, including ventilation, sweat management, and seasonal care tips to prevent mold, mildew, and wood cracking.
First, the hard rules:
- Never use paint, varnish, or any sealant on the interior wood. The wood is designed to be unfinished so it can expand and contract with heat. Paint traps moisture, causing cracking and rot.
- No household cleaners containing bleach, ammonia, or all-purpose chemicals. Heat can activate those substances and release fumes you’ll breathe in.
- No oils or waxes on the interior. They attract dust and can become sticky with heat.
If you want to polish the exterior to keep it looking nice, that’s fine—just keep it off the inside.
Removing Sweat Stains
If stains have already set in, light sanding with 150-grit sandpaper is the only recommended method. Think of it like erasing a pencil mark—light pressure, small circular motion. Always test on an inconspicuous spot first to make sure it doesn’t discolor the wood.
Protecting Wood from the Environment
UV light acts like a slow bleach on the wood, and in extreme cases, prolonged exposure can cause the wood to buckle or warp. Try to place your sauna out of direct sunlight. If that’s unavoidable, rotate the sauna every six months to even out the exposure.
Post-Session Drying and Moisture Control
Even though infrared saunas use dry heat, your body still produces sweat. That sweat creates humidity inside the cabinet. The drying routine is the underlying principle that prevents all the major issues.
After your session:
- Wipe excess perspiration from the bench and backrest with a hand towel.
- Crack the door or roof vent and leave the sauna running for a few more minutes. The heat helps evaporate lingering moisture.
- Leave the door fully open for one hour to let the wood completely air out.
If your sauna has an Oxygen Ionizer (a common accessory), run it for 30 minutes after each session. The ionizer creates an electrical charge that produces negative ions, which bond with pollutants like dust, pollen, and bacteria, causing them to fall out of the air. The result is a fresher, more sanitary sauna with less effort from you. It’s a nice bonus, not a necessity—but it works.
Bottom line: The three-step drying routine—wipe, crack the door, leave it open for an hour—prevents nearly all moisture-related damage. The ionizer is just a bonus.
Troubleshooting Common Issues: Stains, Odors, and Dust
Even with the best preventive habits, you may occasionally run into a few common problems. Here’s how to tackle them quickly and safely, without causing any damage to your sauna’s wood or heaters.
Sweat Stains
Already covered above—lightly sand with 150-grit paper. That’s the fix.
Persistent Odors
Odors are almost always caused by trapped moisture and bacteria, not the wood itself. If you catch a musty smell, run the drying routine more aggressively: wipe everything down, leave the door open longer, and use the Oxygen Ionizer if you have one. Fix the airflow, not the wood. If the smell persists after a few cycles, you may have a moisture problem deeper in the wood—consider running a dehumidifier in the room.
Dust Buildup
Monthly vacuuming with a hand attachment handles most of it. For the heaters, use compressed air to blow dust out of the casing. On full-spectrum heaters, a lint roller on the guard works surprisingly well. The key is to prevent dust from baking onto the heater surfaces, which can affect performance.
The Right Tools and Products: What to Use and What to Avoid
What’s the best non-toxic cleaner for infrared saunas? For 90% of your cleaning, a microfiber cloth and plain water—preferably filtered or distilled to reduce mineral buildup—are all you need.
Here’s the decision tree:
- Daily cleaning: Microfiber cloth + water.
- Deep cleaning (every two weeks): Sauna Cleaner or a few drops of essential oil mixed into water (if your warranty allows—check the manual).
- Stain removal: 150-grit sanding sponge (soft side).
- Tight spots: Detail brushes or small sponges for control panels, seams, and corners.
What to avoid: Any generic household cleaner containing bleach, ammonia, or abrasive agents. They can damage the wood and void your warranty. Same goes for furniture polishes, waxes, and oils on the interior. Stick with what’s designed for the wood, or stick with water.
Placement and Environmental Factors
Where you put your sauna affects how long it lasts. Direct sunlight is surprisingly damaging—it can bleach and weaken the wood, leading to warping within a year. If you have an outdoor sauna, try to position it under an overhang or in a spot that gets shade during the hottest part of the day.
If you can’t avoid sunlight, rotate the sauna every six months to even out the UV exposure. For outdoor models, clean the exterior with a mild detergent occasionally and keep the door closed when not in use to protect the interior from dust and pollen.
The Maintenance Philosophy of a Long-Lasting Sauna
At SaunaCloud, we’ve seen saunas that look brand-new after ten years and some that look tired after two. The difference is always routine—small, consistent actions that prevent big problems.
The mantra is simple: Shower, towel, wipe, and air out.
Repeat after every session. That’s the foundation. Add a deeper clean every two weeks, know your heater type, and never put anything on the interior wood that isn’t water or a sauna-safe cleaner. Your sauna was built to last—it just needs you to stay out of its way.

Founder & Lead Designer, SaunaCloud®
SaunaCloud: 3,000+ installations since 2014 · Author of The Definitive Guide to Infrared Saunas · Featured in Forbes, Inc., and MSN
Christopher designs every SaunaCloud sauna. His work brings the room, heaters, controls and installation plans together so you can review the project before committing. His professional expertise is sauna design and construction, not clinical medicine.
Custom 3D renderings and a proposal in 24-48 hours.
Continue Reading

Tips & Routines
Should You Do Red Light Therapy or Sauna First?
Read article
Tips & Routines
Sitting vs. Laying Down in an Infrared Sauna: Which Is Better?
Read article
Tips & Routines
Sitting vs Laying Down in an Infrared Sauna: The Physics of Body Position and Why It Matters for Red Light Therapy (2026)
Read articleReady to Design Your Sauna?
Every project starts with a conversation. Tell us about your space and we'll create your custom plan — free, no obligation.
Custom 3D renderings and a proposal in 24-48 hours.