How to Clean Infrared Sauna Wood: Exact Dilution Ratios and Manufacturer-Approved Products
Key Takeaways
- Clean with a damp water-only cloth after each use; for deeper cleaning, use a pH-neutral sauna-specific cleaner at a precise dilution of 5 ml per 1 L of warm water
- After routine cleaning, dry the wood by leaving the door and vents open for 1–2 hours, or run the heater on low with vents open for 30–40 minutes—never let cedar stay damp
- Avoid bleach, ammonia, vinegar, oil-based polishes, varnishes, and pressure washers; these strip natural oils, trap moisture, or scratch the soft wood, and may void your warranty
In This Article
You own an infrared sauna, you love it, and you use it. And then you start wondering: What's the right way to clean this thing without wrecking the cedar?
That anxiety is reasonable. Cedar isn't just decorative in an infrared sauna—it's functional. The wood's natural oils give it decay resistance and a surface that stays comfortable even at high heat. One wrong cleaner can strip those oils permanently, leaving you with blotchy, dried-out wood and a voided warranty.
The trouble is, most cleaning advice online was written for steam saunas, not the dry-heat environment of infrared. What works in a wet, high-humidity room isn't the same as what works in your infrared cabin. This guide walks through exactly what to use, what to avoid, and how often to clean, based on manufacturer specifications and material science—not generic "use mild soap" tips.
Why Cleaning Your Infrared Sauna Wood Matters
Let's be clear about what you're actually dealing with. Infrared saunas use dry heat, not steam. That means mold is less likely than in a traditional steam sauna. But it doesn't mean you're off the hook.
Sweat, body oils, and cosmetics still end up on the wood. Over time, that moisture—combined with the heat cycles and humidity swings—can lead to bacteria buildup, staining, and eventually damage to the wood's surface.
Cedar's natural oils are what make it such a good sauna wood. Those oils repel moisture, resist decay, and release that pleasant smell when heated. But they're also what makes cedar vulnerable to the wrong cleaners. Harsh chemicals strip those oils away. Once they're gone, the wood loses its decay resistance, its aroma fades, and you can't put the oils back.
If your sauna uses hemlock, eucalyptus, or basswood, the same pH-neutral cleaning principles apply, but these woods may be less oil-rich than cedar and more prone to water damage; avoid soaking and ensure thorough drying.
Your cedar sauna is a significant investment. A consistent cleaning routine can extend its lifespan by up to fifty years or more. That's not an exaggeration—that's what manufacturer guidance reports. That's not an exaggeration—that's what manufacturer guidance reports.
Step 1: Cool Down and Ventilate Before Cleaning
You wouldn't clean a hot oven, right? Same logic here. Turn off your sauna and let it cool completely before you start wiping anything down. Hot wood can cause your cleaner to flash-evaporate, leaving residue and making the job harder. More importantly, you don't want to be reaching around a hot heater with wet hands.
Once the sauna is cool, prop the door open or open the vents. You want fresh air moving through so moisture doesn't hang around while you clean. It's a simple step, but skipping it means you're working against yourself from the start.
Step 2: Dry-Clean First
Grab a vacuum with a brush attachment, a soft brush, or a microfiber cloth. Get the loose dust, hair, and debris off the benches, backrests, and floor before you add any water.
This is the step everyone skips, and it's the one that makes the biggest difference. If you skip dry-cleaning, you're basically grinding grit into the wood when you wet-clean. That grit acts like sandpaper, scratching cedar's soft surface and making it more prone to staining later. A quick dry pass takes thirty seconds and saves you a world of trouble.
Field note: A thirty-second dry pass before wet-cleaning prevents grit from scratching cedar's soft surface—scratches trap dirt and make future stains harder to remove.
Step 3: Choose and Apply the Right Cleaner
Here's where most guides get vague. They'll say "use a mild cleaner" and leave you guessing. Let's get specific.
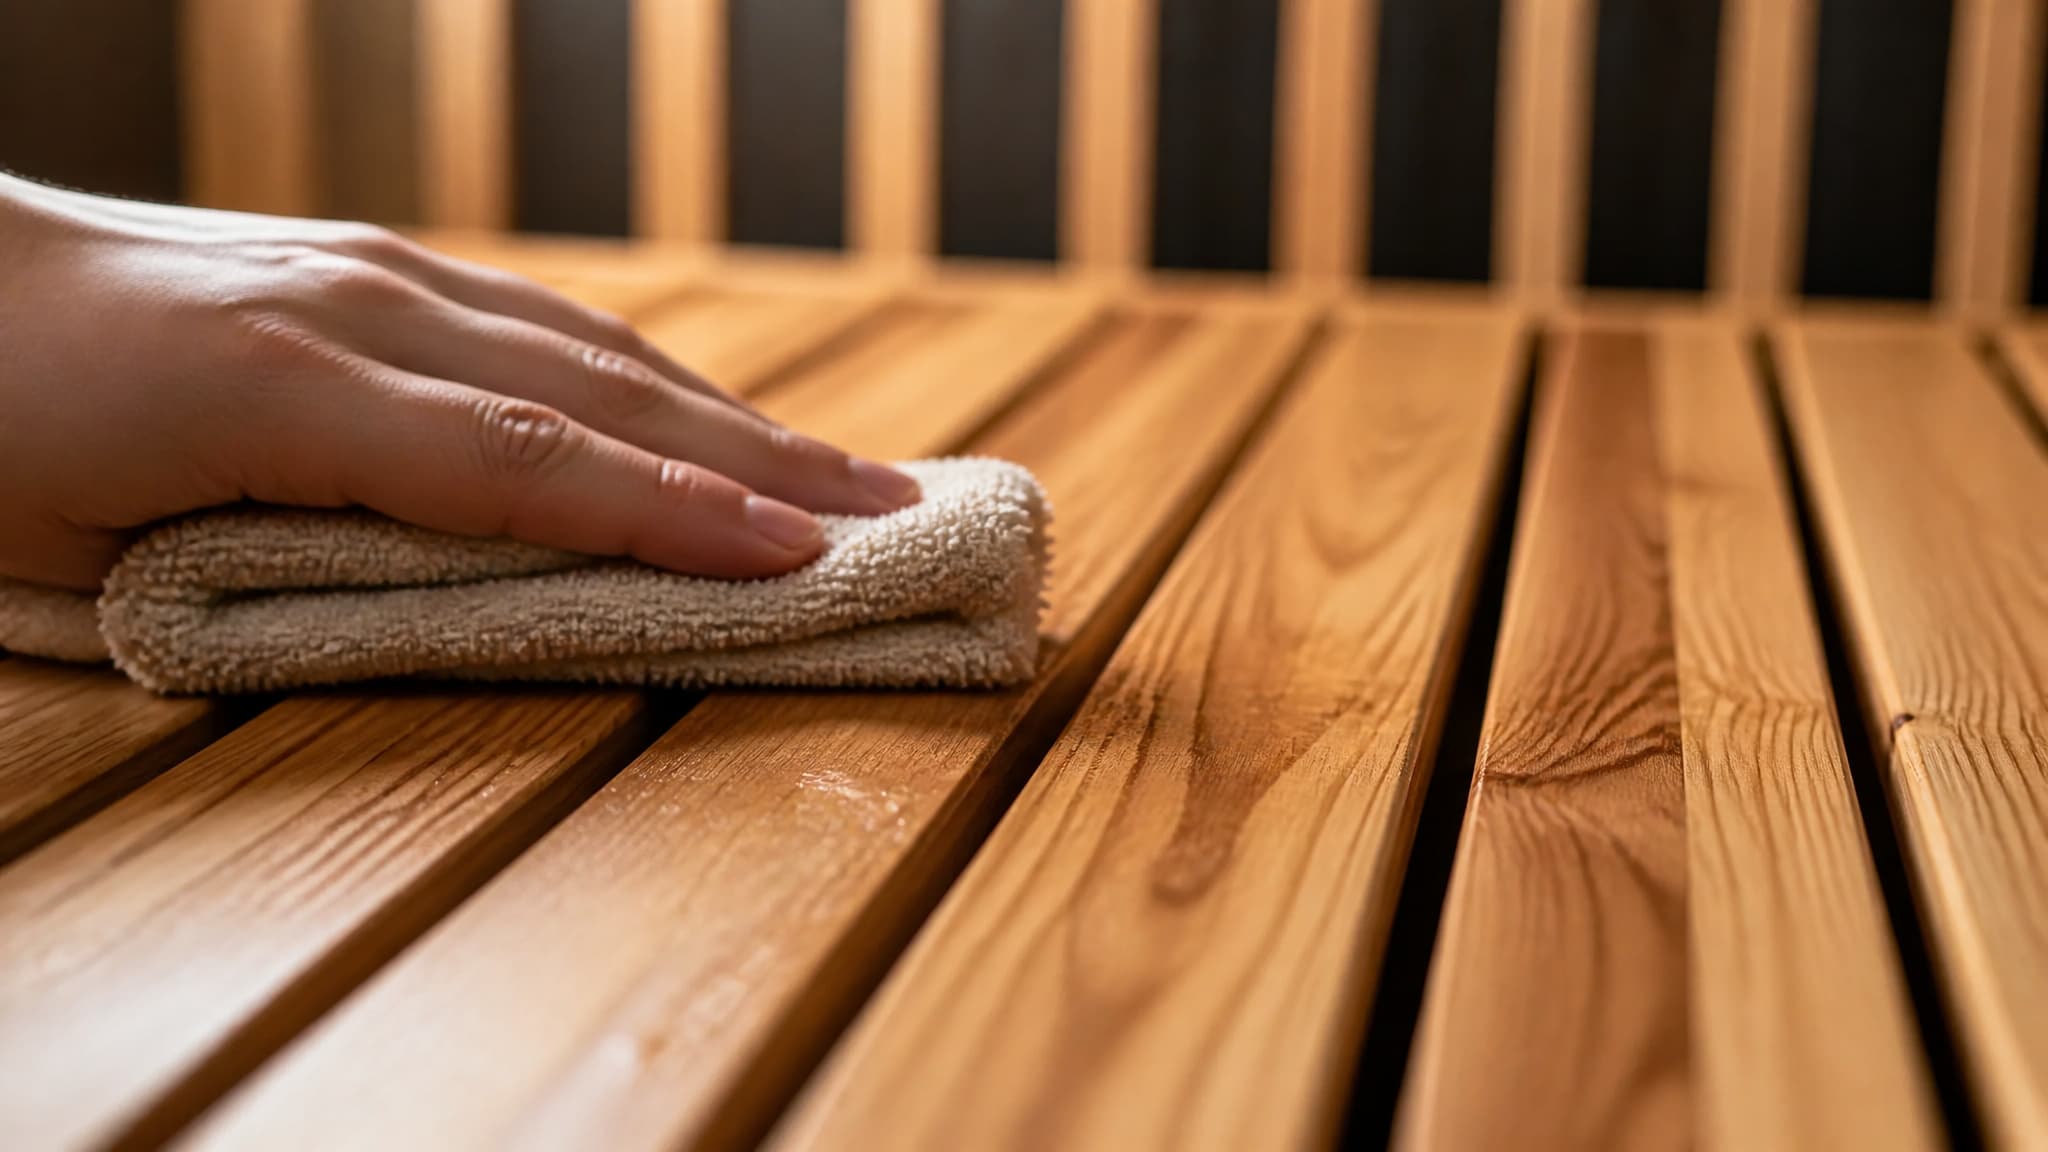
For routine cleaning, plain warm water on a damp cloth is the safest bet. You don't need a cleaner every time. Just wring the cloth out until it's almost dry—damp, not dripping—and wipe along the grain. Going with the grain protects the wood and prevents raised fibers.
When you do need a cleaner, stick with pH-neutral, sauna-specific products. Some solid options: Tikkurila Supi Saunapesu, Harvia Sauna Cleanser, and SaunaLife Sauna Cleaner. These are made for the job and won't strip the natural oils.
If you're using mild castile soap, dilute it precisely: about 5 ml per 1 L of warm water. That's roughly one teaspoon per quart. More than that and you're leaving residue, which can attract dirt and feel sticky when heated.
Never soak the wood. Use a soft sponge or cloth, wring it nearly dry, then wipe along the grain. If you scrub across the grain, you'll raise the surface fibers and leave scratches. Damp, not wet. Gentle, not aggressive.
Step 4: Rinse and Dry Thoroughly
After cleaning, give the wood a light rinse to remove any soap residue. You can use a well-wrung cloth with clean water or a hose with light spray—just avoid drips and standing water. Don't pour water directly onto the wood. It's not a deck.
Cedar is porous, and standing moisture penetrates the wood and causes damage. After routine cleaning, leave the door and vents open for 1–2 hours, or run the heater on low with vents open for 30–40 minutes.
Here's the specific guidance from manufacturer sources:
- After routine cleaning: Leave the door and vents open for 1–2 hours. Or, if you're in a hurry, run the heater on low with vents open for 30–40 minutes.
- After deep cleaning: Full ventilation and low heat for 45–60 minutes.
Prop the duckboards (floor slats) up off the floor so air can circulate underneath. This lets everything dry completely and prevents moisture from getting trapped between the slats and the floor.
Step 5: Clean Floor, Grates, and Vents
These areas gather moisture and can breed pathogens if ignored. Remove grates, drains, and vent covers and clean them separately. Vacuum or sweep the floor first, then mop with a mild cleaner or a deodorizing cleaner. Avoid harsh chemical cleaners on the floor—stick with the same pH-neutral approach.
Remove the grates, drains, and vent covers and clean them separately. A disinfectant is appropriate here (unlike on the wood), but rinse everything thoroughly before putting it back. Inspect vents monthly for blockages. Trapped humidity is how problems start—for a full walkthrough of non-toxic, low-residue methods safe for medical-grade heaters, see how to clean an infrared sauna.
After the sauna has cooled, wipe down the heating panels and glass doors with a damp cloth to remove dust and residue. For glass, use a vinegar-water solution (if safe for the frame) or a dedicated glass cleaner applied to a cloth—never spray directly onto the glass or frame. Dry with a soft, lint-free cloth to prevent streaks.
What to Avoid: Products That Damage Sauna Wood
This section is where we earn our keep, because a lot of common household products will ruin cedar. Here's why each one is problematic, so you understand the reasoning, not just the rule.
Bleach and household disinfectant sprays. One source we came across suggests bleach for mold treatment, but manufacturer consensus and expert guidance strongly prefer avoiding it. Here's why: chlorine bleach causes blotchy fading, damages wood fibers, and produces harsh fumes in an enclosed space. More importantly, it strips cedar's natural oils.
The same goes for ammonia and multi-purpose sprays with strong solvents. They're too aggressive for a porous, oil-rich wood. If you absolutely must treat a mold spot (and again, mold is rare in infrared saunas), use a very diluted bleach solution only as a last resort, and rinse thoroughly. But for routine cleaning or stain removal, skip the bleach — consult a guide on how to take care of infrared sauna instead.
Oil-based polishes, varnishes, paints, and polyurethane. These seal the surface and stop cedar from breathing. When the wood can't breathe, heat and moisture get trapped, leading to swelling, cracking, and mold. Plus, they make benches dangerously slippery.
You don't want to slide off a bench in a hot sauna. Benches must stay matte and slightly grippy for safety.
Pressure washers and steam cleaners. They force water deep into cedar joints, causing swelling, cracking, and hidden mold. Interior wood is not suitable for pressure washing, and maintenance is simple: just wipe the wood down with water or a mild botanical cleaner, and leave the door open so it can dry out after you're done, much like the best wood for infrared saunas requires gentle care. If your sauna is a separate outdoor building, you can lightly pressure wash the exterior—but never the inside.
Abrasive powders and scrubbing pads. Cedar is soft. Scratching it with abrasive pads creates rough spots that trap dirt and stain more easily. Soft cloths only.
Vinegar. It shows up in a lot of DIY cleaning recipes, and it's not the worst thing you could use. But its acidity can dull or etch cedar over time, especially with repeated use. Sauna-specific or pH-neutral cleaners are safer long-term choices. If you do use vinegar, use it sparingly and well diluted—but we'd recommend one of the purpose-made products instead.
How Often to Clean by Usage Intensity
The schedule depends on how often you use the sauna. Here's the manufacturer guidance for cedar cabins:
- After each use: Wipe benches and backrests with a damp, water-only cloth. Air out the sauna by opening the door and vents for 30–60 minutes.
- Daily use (multiple sessions per week): Wash down the interior at least once per week with a mild cleaner.
- Occasional use (once or twice a week): Clean monthly.
- Deep clean: 2–4 times per year.
A quick wipe after each use makes the deeper cleans much easier. Fresh sweat hasn't had time to set into the wood, so you're removing it before it can stain. This single habit cuts your deep-cleaning work in half.
Bottom line: A post-session wipe with a damp cloth removes sweat before it sets—this one habit cuts your deep-cleaning workload in half.
Deep Cleaning and Stain Removal
For sweat stains that have already set in or areas that look darker than the surrounding wood, you have two options.
Baking soda paste. Mix 3 parts baking soda to 1 part water to form a paste. Apply it to the stain, let it sit for a few minutes, then gently scrub with a soft cloth along the grain. Rinse and dry. This is gentle enough for regular use and effective on most surface stains.
Light sanding. If the stain is stubborn or the wood feels rough, sand it down. Use 180–220 grit sandpaper (fine grit, not coarse) and sand by hand along the grain. Feather the edges so the sanded area blends in with the surrounding wood.
Sanding removes sweat stains, darkening, and splinters—and it releases fresh cedar oils, restoring that natural aroma. Wear a dust mask and vacuum up the dust afterward. Plan to sand the benches about once a year as part of maintenance.
After a deep clean involving sanding or stain treatment, do a final dry-out: full ventilation and low heat for 45–60 minutes.
Preventive Habits That Protect Your Wood
Small daily habits reduce cleaning work and extend wood life. These aren't optional—they're the difference between a sauna that lasts fifty years and one that needs bench replacements in ten.
Before you enter: Shower with mild soap to remove body oils, lotions, and cosmetics. Clean your feet, too. This reduces the grime and sweat that end up on the wood. It also cuts down on staining and helps prevent mold from getting a foothold.
During your session: Sit on a towel and wrap another around your body. This creates a barrier between your skin and the wood. Use soft, white cloths to avoid dye transfer onto light cedar—no one wants pink stains on their benches. Wash towels after each use and don't leave wet ones in the sauna.
After your session: Wipe benches and backrests with a damp, water-only cloth. Open the door and vents for 30–60 minutes. Rotate where you sit each time to prevent uneven aging of the bench spots. Use soft or filtered water when possible to prevent mineral deposits and white spots on the cedar.
Wash towels after each use with mild detergent. Clean rubber mats with a damp cloth and mild soap; allow to dry completely before placing back. For cushions, follow manufacturer care instructions—typically spot-clean with mild soap and water.
Protective Treatments for Long-Term Care
Once the wood is clean and dry, you can apply a protective treatment that keeps the cedar looking new and extends its life. Only use breathable, water-based products made specifically for saunas. Anything that seals the surface is a no-go.
Two commercial options worth knowing:
- Tikkurila Supi Saunawax – A water-based, breathable treatment for walls and ceilings.
- Tikkurila Supi Laudesuoja – A colorless, water-based penetrating treatment for benches and backrests. It repels moisture without making the surfaces slippery.
Paraffin oil is another option. Lightly sand the surface, apply a thin even layer with a lint-free cloth, let it absorb for at least 1 hour, then wipe off the excess. The oil penetrates the wood fibers, protecting against moisture without sealing the surface.
Whichever treatment you use, apply it to clean, dry wood and let it cure before heating—4 to 24 hours depending on the product. Re-treat benches about once a year (they take the most abuse). Walls and ceilings can go 2–3 years between treatments.
Remember: benches must stay matte and slightly grippy. If a treatment leaves them slick, lightly sand the surface and start over.
Annual Maintenance Schedule Checklist
Here's the full schedule at a glance:
After each use - Wipe benches and backrests with damp cloth (water only) - Air out 30–60 minutes (door and vents open)
Weekly (for daily-use sauna) - Wash down interior with pH-neutral cleaner or diluted castile soap
Monthly - Inspect exterior walls and vents - Clear any blockages in vents - Vacuum and mop floor
Every 3–6 months - Condition wood with paraffin oil or sauna wax
Annually - Inspect heater, stones, and structure - Lightly sand benches with 180–220 grit paper - Re-treat benches with protective product
2–4 times per year - Deep clean (full interior wash, stain treatment, thorough drying)
Keeping a Cedar Infrared Sauna for Decades
The routine for a cedar sauna is simple: damp cloth after each session, a weekly wash if you use it often, a deep clean a few times a year, and an annual sanding and re-treatment for the benches. Skip the bleach, the pressure washer, and the oil-based varnishes. Stick with pH-neutral cleaners, breathable treatments, and good ventilation.
Those few minutes of care pay off in decades of use. The wood stays aromatic, the benches stay comfortable and safe, and your sauna remains a place you actually want to unwind in—not a project you need to fix.
Frequently Asked Questions
What should I clean my infrared sauna with?
For routine cleaning, use a damp, water-only cloth. For deeper cleaning, use a pH-neutral sauna-specific cleaner or a mild castile soap diluted to about 5 ml per 1 L of warm water. Avoid harsh chemicals like bleach, ammonia, and vinegar, which can strip cedar's natural oils.
Why should you not shower after an infrared sauna?
Showering immediately after an infrared sauna can wash away the sweat and toxins that your body has released through the skin, potentially reducing the detoxifying benefits. It's generally recommended to wait a few minutes to allow your body to cool down and the sweat to evaporate naturally.
Can I use vinegar to clean my infrared sauna?
Vinegar is not recommended for regular cleaning because its acidity can dull or etch cedar over time. If you must use it, dilute it well and use sparingly, but pH-neutral sauna-specific cleaners are safer for long-term wood care.

Founder & Lead Designer, SaunaCloud®
SaunaCloud: 3,000+ installations since 2014 · Author of The Definitive Guide to Infrared Saunas · Featured in Forbes, Inc., and MSN
Christopher designs every SaunaCloud sauna. His work brings the room, heaters, controls and installation plans together so you can review the project before committing. His professional expertise is sauna design and construction, not clinical medicine.
Custom 3D renderings and a proposal in 24-48 hours.

Ready to Design Your Sauna?
Every project starts with a conversation. Tell us about your space and we'll create your custom plan — free, no obligation.
Custom 3D renderings and a proposal in 24-48 hours.