


Verified
Incredible custom sauna experience
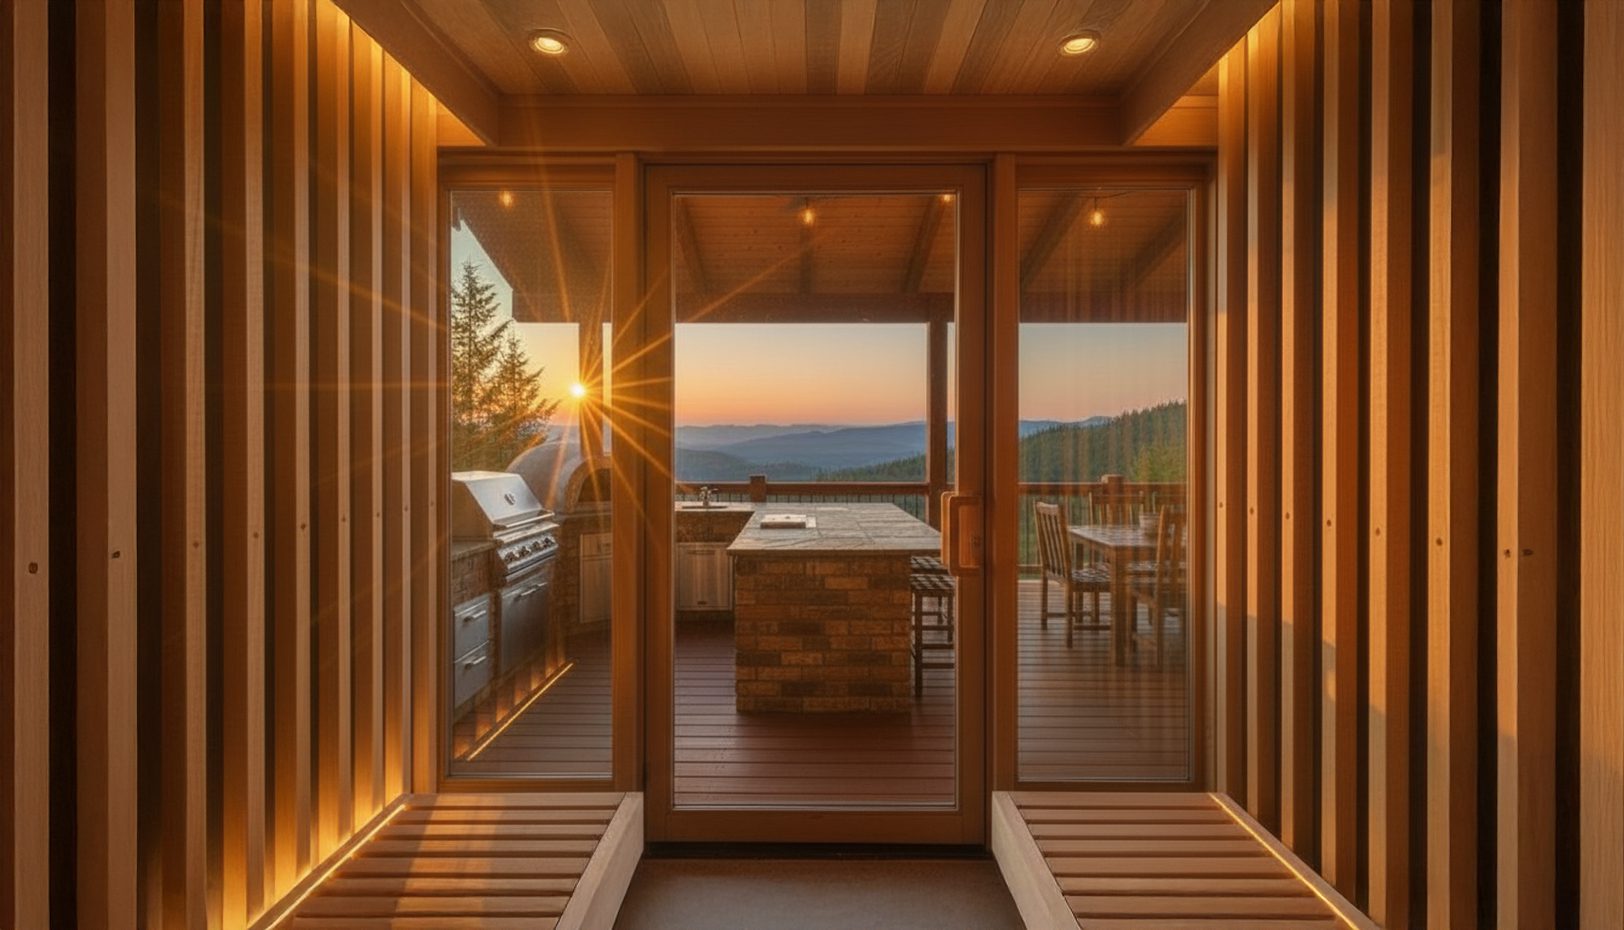
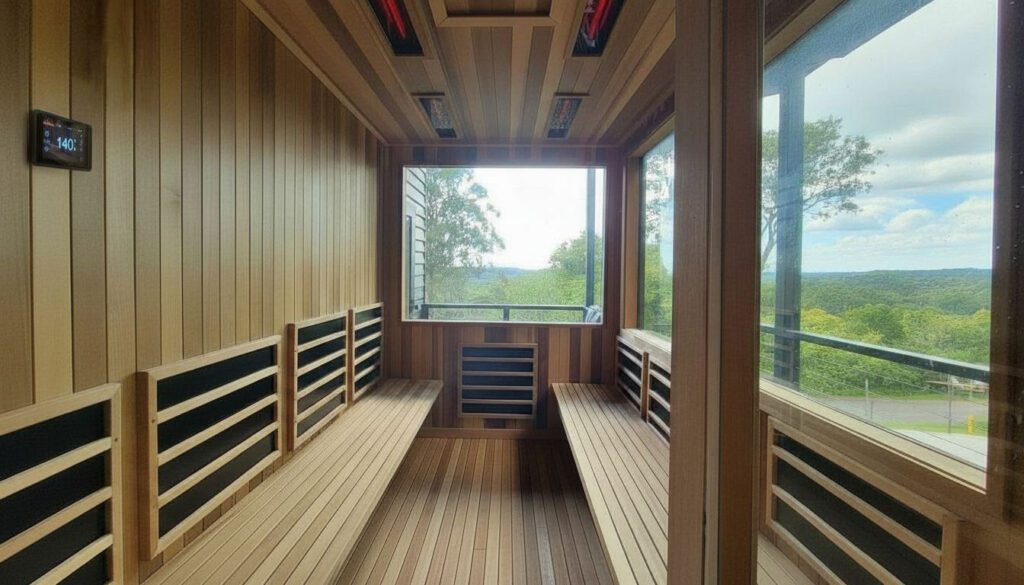
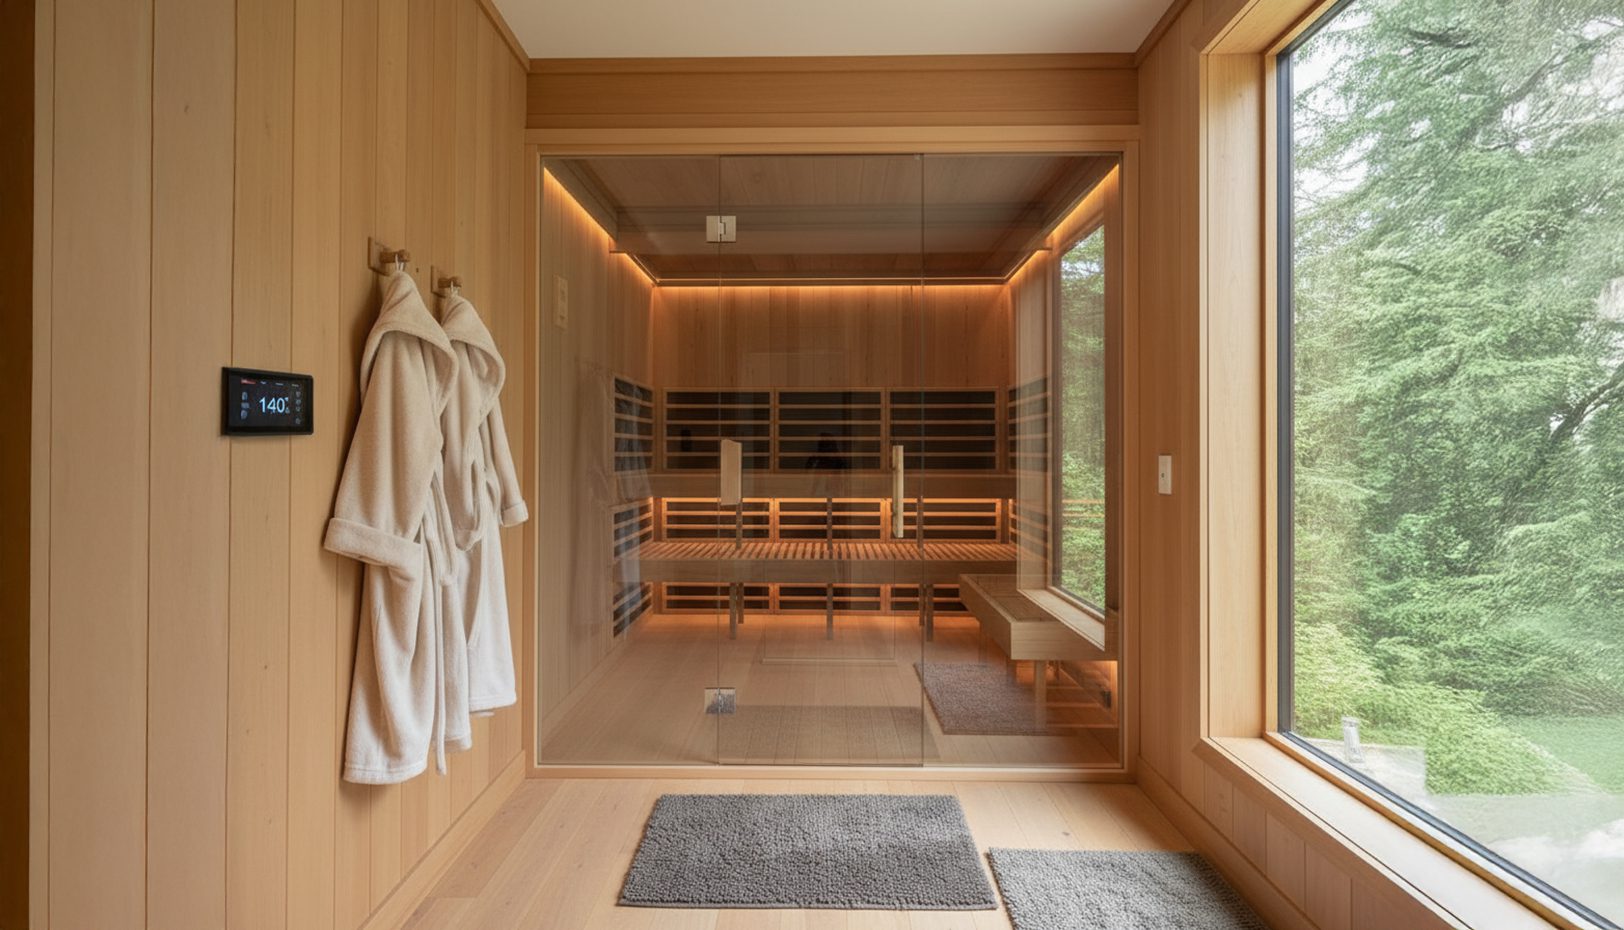
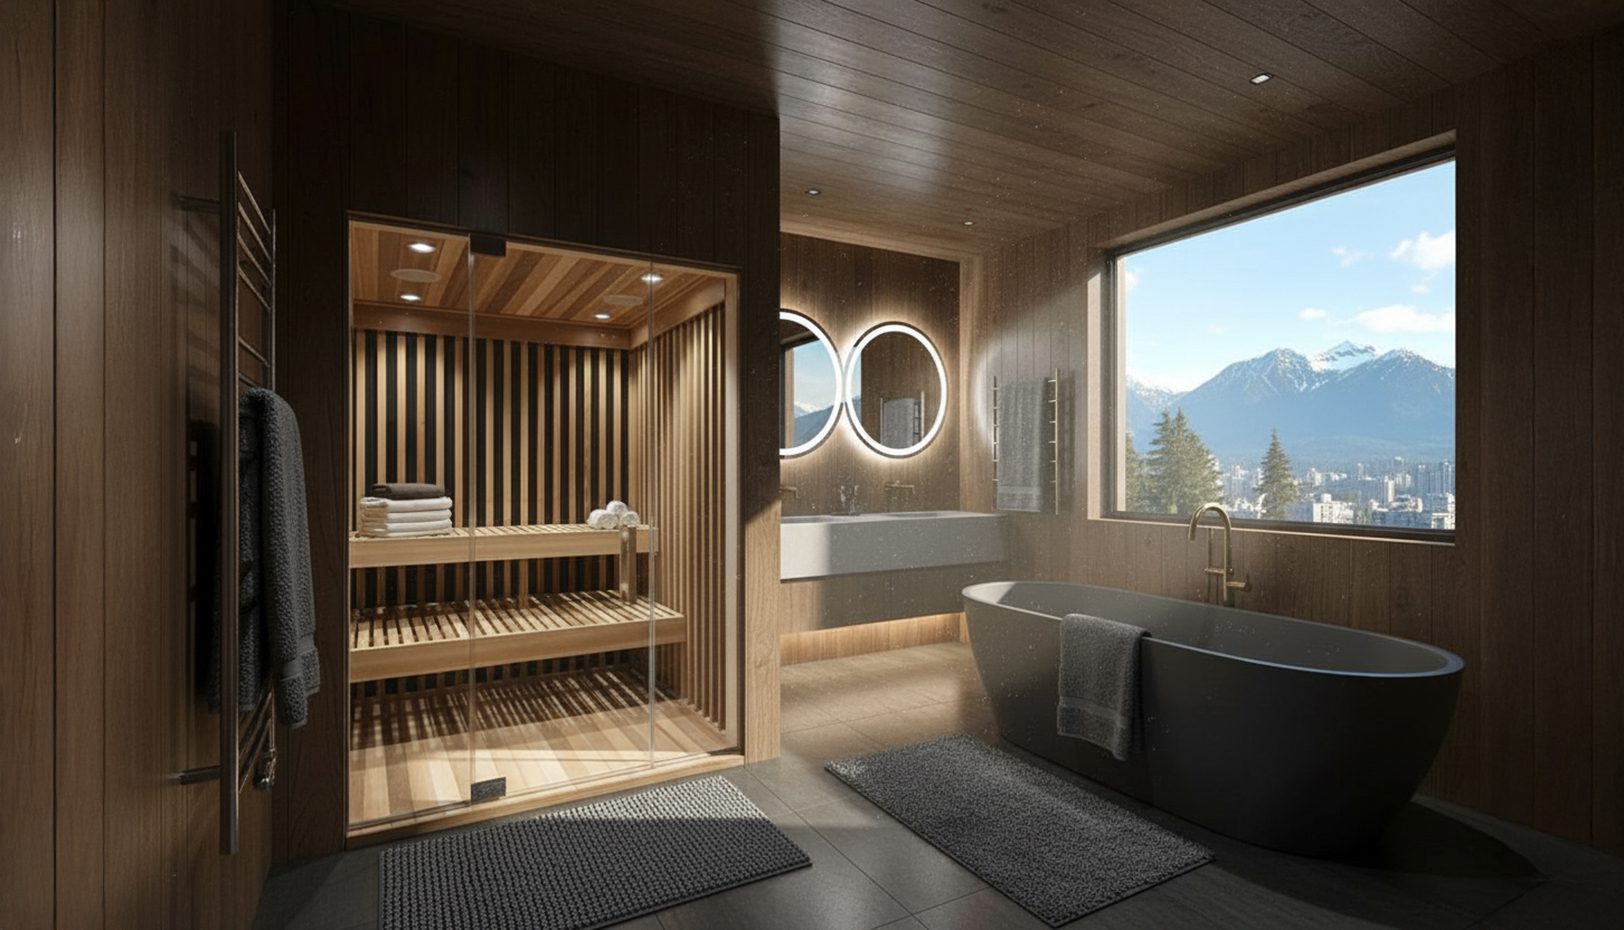
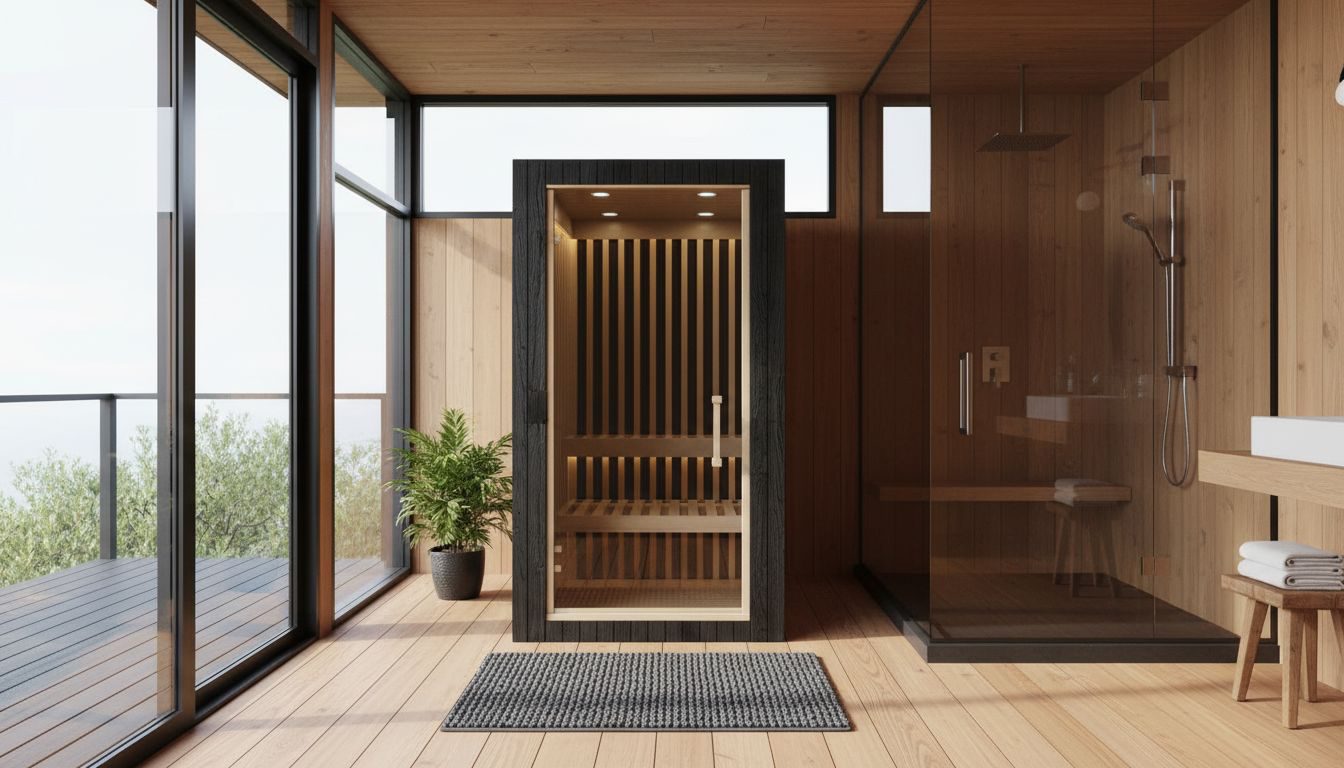
The entire process from design consultation to delivery was seamless. The team helped me think through every detail — wood species, heater placement, bench layout — and the finished sauna exceeded every expectation. The craftsmanship is genuinely on a different level. I've used a lot of saunas and this is the best-built one I've ever stepped into.
Chad B.March 16, 2026


 (1).gif)