Can You Convert a Traditional Sauna to Infrared? Yes — Here's Exactly How
Key Takeaways
- Yes, you can convert your traditional hot rock sauna to far infrared — and SaunaCloud does this regularly. The room, wood, door, and benches stay. You replace the heating system with VantaWave® infrared panels
- Conversion costs 40–60% less than building a new infrared sauna because you keep the existing structure. You save on wood, framing, door, and bench construction
- Good candidates: solid wood construction (cedar, hemlock, spruce), no rot or mold, flat wall surfaces, adequate dimensions. Bad candidates: barrel saunas, particle board construction, extensive water damage
- SaunaCloud provides custom conversion plans, VantaWave heater kits, and phone/video support. Your contractor handles the physical installation. Most conversions are completed in a weekend
- Converting is the perfect time to add red light therapy — clinical-grade LEDs integrated into bench seats and backrests for combined far infrared + red light sessions
It's one of the most common questions we get: "I already have a traditional sauna. Can I convert it to infrared instead of buying a whole new one?"
The short answer: yes. We do this all the time. Sauna conversions are one of our most common project types — and for good reason. You already have a beautiful cedar room, a glass door, built-in benches, and an electrical connection. Why tear all of that out and start from scratch when you can upgrade the heating technology and keep everything else?
Over twelve years and 3,000+ installations, we've converted hundreds of traditional saunas to far infrared. From small residential units to commercial spa installations, the process is well-established. This guide covers everything you need to know: what's involved, what it costs, what makes a good candidate, and how to get started.
Why people convert their traditional saunas
People who already own a traditional sauna aren't sauna skeptics — they know the benefits. But many find their traditional sauna sitting unused because of practical frustrations:
- The 45-minute preheat kills spontaneity. Traditional saunas need 30–45 minutes to heat the air to 170–190°F. An infrared sauna is ready the moment you step in — the VantaWave® heaters work immediately, heating your body directly rather than heating the air.
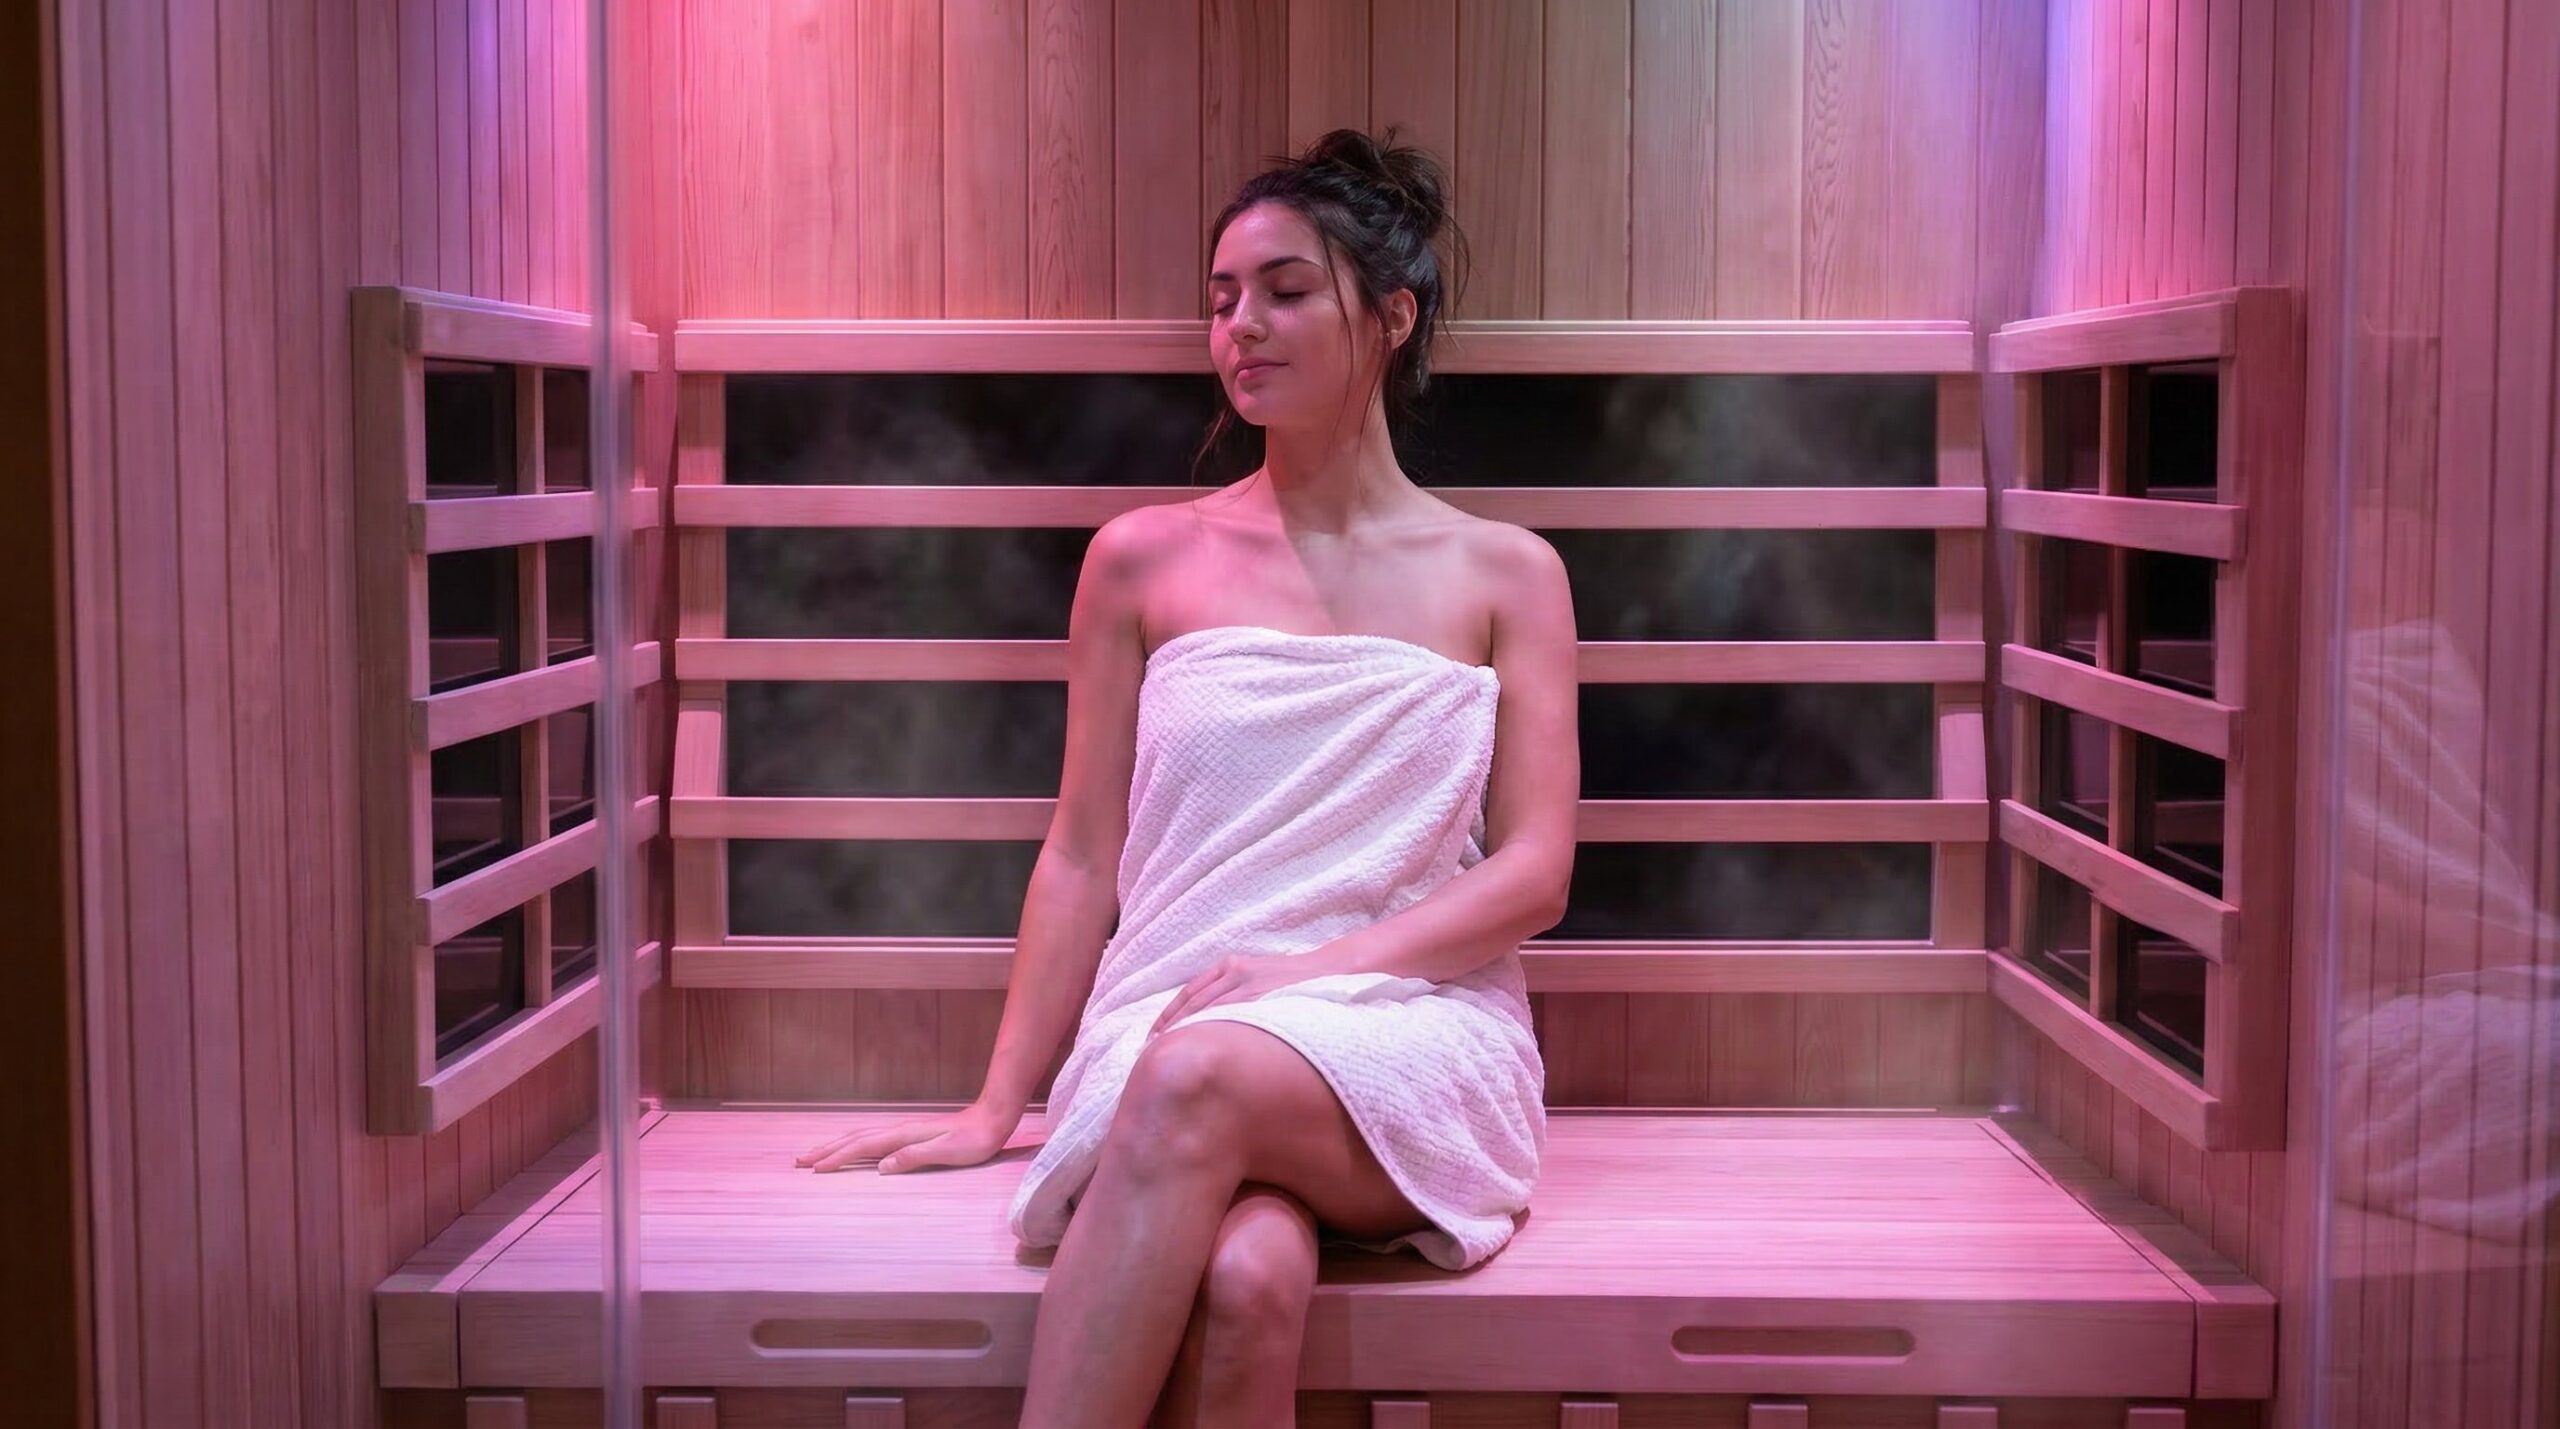
- The extreme heat is too intense for daily use. Many people find 180°F+ unbearable for more than 10–15 minutes, especially those with health conditions. Infrared operates at 130–145°F while delivering equal or deeper therapeutic heating.
- Energy costs are 3–5x higher. Traditional heaters draw 6–9 kW (240V, 30–50 amp circuits). VantaWave infrared panels draw 1.5–3 kW and can often run on standard 120V/20A circuits.
- No red light therapy option. You can't add red light therapy to a traditional sauna — the extreme temperatures damage LED electronics. Infrared's lower operating temperature makes red light integration possible.
- Health conditions make extreme heat unsafe. Blood pressure concerns, autoimmune conditions, medication interactions — infrared's lower temperatures make sauna therapy accessible to people who can't tolerate traditional heat.
The common thread: these people love having a sauna. They just wish it was more comfortable, more convenient, and more therapeutic. Conversion gives them all three without losing their existing investment. I had one client in Portland who told me he'd built a beautiful cedar hot rock sauna in his garage five years ago — cost him over $12,000 in materials and labor. He used it enthusiastically for six months, then increasingly rarely, then almost never. The preheat was annoying. The extreme heat left him feeling drained rather than refreshed. His wife wouldn't use it at all. After conversion, both of them use it 4–5 times per week. The infrared experience is gentler, more comfortable, and they're in and out in 30 minutes with no preheat. His exact words: 'I wish I'd done this three years ago.'
What a conversion involves
A sauna conversion is simpler than most people expect. You're not rebuilding the room — you're swapping the heating system. Here's what happens:
Sauna Conversion: Before & After
Before — Traditional
Hot rock heater
6–9 kW, 240V/40A
45-min preheat
Wait before every session
185°F air temp
Uncomfortable for many
Surface heating only
Hot air, not deep tissue
No red light option
Heat damages LEDs
After — Infrared
VantaWave® panels
1.5–3 kW, 120V/20A
Step in immediately
No preheat needed
140°F infrared
Comfortable, therapeutic
Deep tissue heating
1.5–2" penetration
Red light integrated
Clinical-grade 660nm
The room, wood, door, and benches stay the same — only the heating system changes
Step 1: Assessment
You book a call with SaunaCloud and send us photos and measurements of your existing sauna. We evaluate the space — interior dimensions, wood type and condition, current electrical setup, ventilation, and any potential issues. This takes about 30 minutes and is completely free.
Step 2: Custom conversion plan
We create a detailed conversion plan using our Atlas heater placement system — the same design process we use for new builds. This plan specifies exactly where each VantaWave® panel goes, the wiring layout, control panel placement, and any modifications needed. If you're adding red light therapy, the bench integration is designed at this stage.
Step 3: Remove the old heater
Your contractor removes the traditional heater — whether it's a hot rock unit, steam generator, or electric element — along with any associated plumbing, high-voltage wiring, and the old control panel. This typically takes a few hours.
Step 4: Install VantaWave heater kit
SaunaCloud ships a complete conversion kit: VantaWave® heater panels custom-sized for your space, CORE 5 digital controller, all wiring and mounting hardware, and detailed installation plans. The heater panels are cut to fit your exact dimensions — this isn't a generic kit where you hope the pieces fit. We use the Atlas heater placement system to map optimal panel positions based on your room's specific width, depth, and height, ensuring even infrared coverage from wall to wall with no dead zones. Your contractor installs everything per our plans, with full phone and video support from our team throughout the process.
Important: SaunaCloud provides the plans, materials, and support. Your contractor or electrician does the physical installation. We do not perform installation services — but we're on call throughout the process to answer questions and troubleshoot.
Step 5: You're done
Most conversions are completed in a single weekend. Friday evening your contractor removes the old heater. Saturday they install the VantaWave panels and controller. Saturday evening you're using your converted infrared sauna for the first time.
What makes a good candidate for conversion
Not every traditional sauna is a good conversion candidate. Here's what we look for:
Good candidates
- Solid wood construction: Cedar, hemlock, spruce, or basswood walls and ceiling. The wood should be solid boards — not veneer over plywood. If you're not sure, check the edge of a board: solid wood shows continuous grain through the full thickness.
- Good structural condition: No rot, no mold, no water damage to the wood or framing. Surface discoloration from years of heat is normal and cosmetic — structural rot is not.
- Flat wall surfaces: VantaWave panels mount to flat surfaces. Standard rectangular saunas are ideal.
- Adequate dimensions: Minimum approximately 3'×4' interior for a 1–2 person conversion. Larger spaces accommodate more heater panels and better coverage.
- Accessible electrical: Your existing electrical panel should be accessible for the circuit modification. Most conversions simplify the electrical — going from 240V/30–50A down to 120V/20A.
Poor candidates
- Barrel saunas: The curved walls don't provide flat mounting surfaces for heater panels. Some barrel conversions are possible with custom brackets, but the results are compromised.
- Plywood or particle board construction: If hidden areas (behind heaters, under benches) use engineered wood, conversion may not be advisable. Heating these materials causes formaldehyde off-gassing — see our guide on glues and adhesives in saunas.
- Extensive water or mold damage: If the wood is structurally compromised, a conversion won't fix the underlying problem. In these cases, a new custom build may be the better investment.
- Some outdoor saunas: If the insulation is inadequate or the structure isn't weather-sealed, the lower operating temperatures of infrared may not maintain comfortable cabin temperatures in cold climates.
The cost advantage: save 40–60%
The biggest advantage of converting versus building new is cost. When you convert, you're keeping the most expensive part of any sauna project — the room itself. Think about what goes into a new custom sauna build: premium Western Red Cedar for walls, ceiling, and trim. Structural framing and insulation. A tempered glass door. Custom-built benches. Vapor barrier. Finish carpentry. All of that is already built and paid for in your existing sauna. The only thing that changes is the heating technology — the VantaWave® panels, CORE 5 controller, and wiring — which represents a fraction of the total cost of a ground-up build.
Conversion Cost Savings
Keep your room, upgrade the technology
New custom build
$8K–$15K
Convert existing sauna
$3K–$8K
Save 40–60% by converting your existing space
A new custom infrared sauna build typically ranges from $8,000 to $15,000+ depending on size, wood selection, and features. A conversion of an existing sauna typically costs $3,000 to $8,000 — saving you 40–60% while delivering the same VantaWave® technology, the same CORE 5 controller, and the same therapeutic experience. Start here to get a free conversion assessment.
The electrical savings are ongoing too. Your energy bill for sauna use drops immediately — from the 6–9 kW draw of a traditional heater to the 1.5–3 kW of VantaWave panels. Over years of daily use, that adds up to hundreds of dollars annually.
What changes and what stays the same
People often worry that converting their sauna will change the look or feel of the room they've grown attached to. In practice, the aesthetic impact is minimal:
- Stays the same: The room dimensions, the wood walls and ceiling, the door and glass, the benches (usually), the overall aesthetic and feel
- Changes: The heater (rock heater out, sleek VantaWave panels in), the control panel (analog dial replaced by CORE 5 digital controller), the operating temperature (185°F → 140°F), the preheat time (45 min → instant), the energy consumption (6–9 kW → 1.5–3 kW), and the therapeutic experience (surface heat → deep tissue infrared)
Many of our conversion clients tell us their sauna looks better after conversion — the bulky rock heater is replaced by slim, wall-mounted panels, and the digital controller gives the space a more modern, intentional feel while respecting the original woodwork. One client in Scottsdale converted a 15-year-old cedar hot rock sauna that she'd used maybe twice a month because the preheat was so long. After conversion, she uses it five days a week. The wood still looks the same. The room still feels the same. But the experience — stepping in immediately, comfortable heat from minute one, deep sweat by minute fifteen — is completely different.
Another common conversion we see: homebuyers who inherit a traditional sauna in their new house. They love that the room exists but don't want the traditional experience. Converting lets them keep the architectural feature — often a selling point of the home — while getting the therapeutic benefits they actually want.
Adding red light therapy during conversion
If you're already converting your sauna, it's the ideal time to add integrated red light therapy. Our red light bench positions clinical-grade 660nm LEDs just 1–4 inches from your body — clinical proximity that produces measurably better results than wall-mounted panels at 2–3 feet.
Adding red light during conversion is significantly less expensive and disruptive than retrofitting it later, because the bench modifications and wiring are planned into the conversion design from the start. Most conversion clients who add red light therapy report it becomes the feature they value most.
The conversion process: step by step
- Book a free consultation call. Send us photos and measurements of your existing sauna. We'll assess the space and tell you honestly whether conversion is the right option.
- Receive your custom conversion plan. We design a heater placement layout optimized for your exact dimensions using the Atlas placement system — the same engineering we use for new builds.
- Your contractor removes the old system. The traditional heater, steam generator (if applicable), and associated wiring come out. This typically takes 2–4 hours.
- We ship your VantaWave conversion kit. Everything arrives in one shipment: heater panels (custom-sized), CORE 5 controller, wiring, mounting hardware, and detailed installation instructions.
- Your contractor installs the new system. Following our plans with full phone/video support from the SaunaCloud team. Most installations take 4–8 hours.
- First session. Turn it on, step in immediately (no preheat!), and experience the difference. Most clients are using their converted sauna the same weekend the work is done.
To see our engineering and construction philosophy in detail, visit how we build. And if you're exploring this alongside a completely new build, our guides and books library covers everything from heater technology to wood selection to design optimization.
Commercial conversions
We also convert commercial saunas — in hotel spas, wellness centers, gyms, and resorts. Commercial conversions follow the same process but with additional considerations: higher-capacity VantaWave panels for larger spaces, commercial-grade CORE 5 controllers rated for continuous daily use, and ADA-compliant bench configurations where required.
For commercial operators, the conversion math is compelling beyond just the upfront savings. The ongoing energy reduction from 6–9 kW to 1.5–3 kW per sauna — multiplied across 8–12 hours of daily operation — produces substantial operational savings. One hotel spa we converted estimated they saved over $3,000 annually in electricity costs per sauna unit. With three converted units, the conversion paid for itself in under a year.
Commercial conversions also reduce guest complaints. Traditional saunas in commercial settings are frequently reported as "too hot" or "too humid" by guests who aren't experienced sauna users. Infrared's comfortable 130–145°F range with gentle, dry heat produces consistently positive guest feedback and higher utilization rates.
Frequently asked questions
Frequently Asked Questions
Yes. SaunaCloud regularly converts traditional hot rock saunas to far infrared. The existing room, wood, door, and benches typically stay — you replace the heater system with VantaWave® infrared panels and a CORE 5 digital controller. The conversion is simpler and less expensive than building a new sauna.
Conversion typically costs 40–60% less than building a new custom infrared sauna because you keep the existing room structure. Most conversions range from $3,000 to $8,000 depending on sauna size, heater configuration, and whether you add red light therapy. A comparable new build would cost $8,000–$15,000+.
Yes, as long as the wood is in good structural condition with no rot, mold, or water damage. Surface discoloration from years of traditional sauna use is normal and purely cosmetic — it doesn't affect the conversion. The cedar stays; you're only changing the heating system.
Usually the electrical gets simpler, not more complex. Traditional saunas require 240V/30–50A dedicated circuits. Many infrared conversions can run on standard 120V/20A circuits, which may already exist nearby. Your electrician can often repurpose or simplify the existing wiring.
Most conversions are completed in a single weekend. SaunaCloud ships the complete VantaWave heater kit with detailed installation plans. Your contractor handles the removal of the old system and installation of the new one, with phone/video support from the SaunaCloud team throughout.
SaunaCloud provides detailed conversion plans and full support, but a contractor or licensed electrician handles the physical installation. SaunaCloud does not perform installation services — your contractor does the work using our plans, with our team available by phone or video for guidance.
Absolutely — and it's the ideal time to do it. Converting to infrared is the perfect opportunity to add clinical-grade red light therapy because the bench modifications and wiring can be planned into the conversion design. Adding red light later is possible but more disruptive and expensive.

Founder & Lead Designer, SaunaCloud®
3,000+ custom saunas built since 2014 · Author of The Definitive Guide to Infrared Saunas · Featured in Forbes, Inc., and MSN
Chris has been designing and building custom infrared saunas since 2014. He wrote one of the first comprehensive books on infrared sauna therapy and is personally involved in every SaunaCloud build — from design consultation through delivery and beyond.
Continue Reading
How to Convert Your Traditional Sauna to Infrared: Step-by-Step Guide (2026)
Read article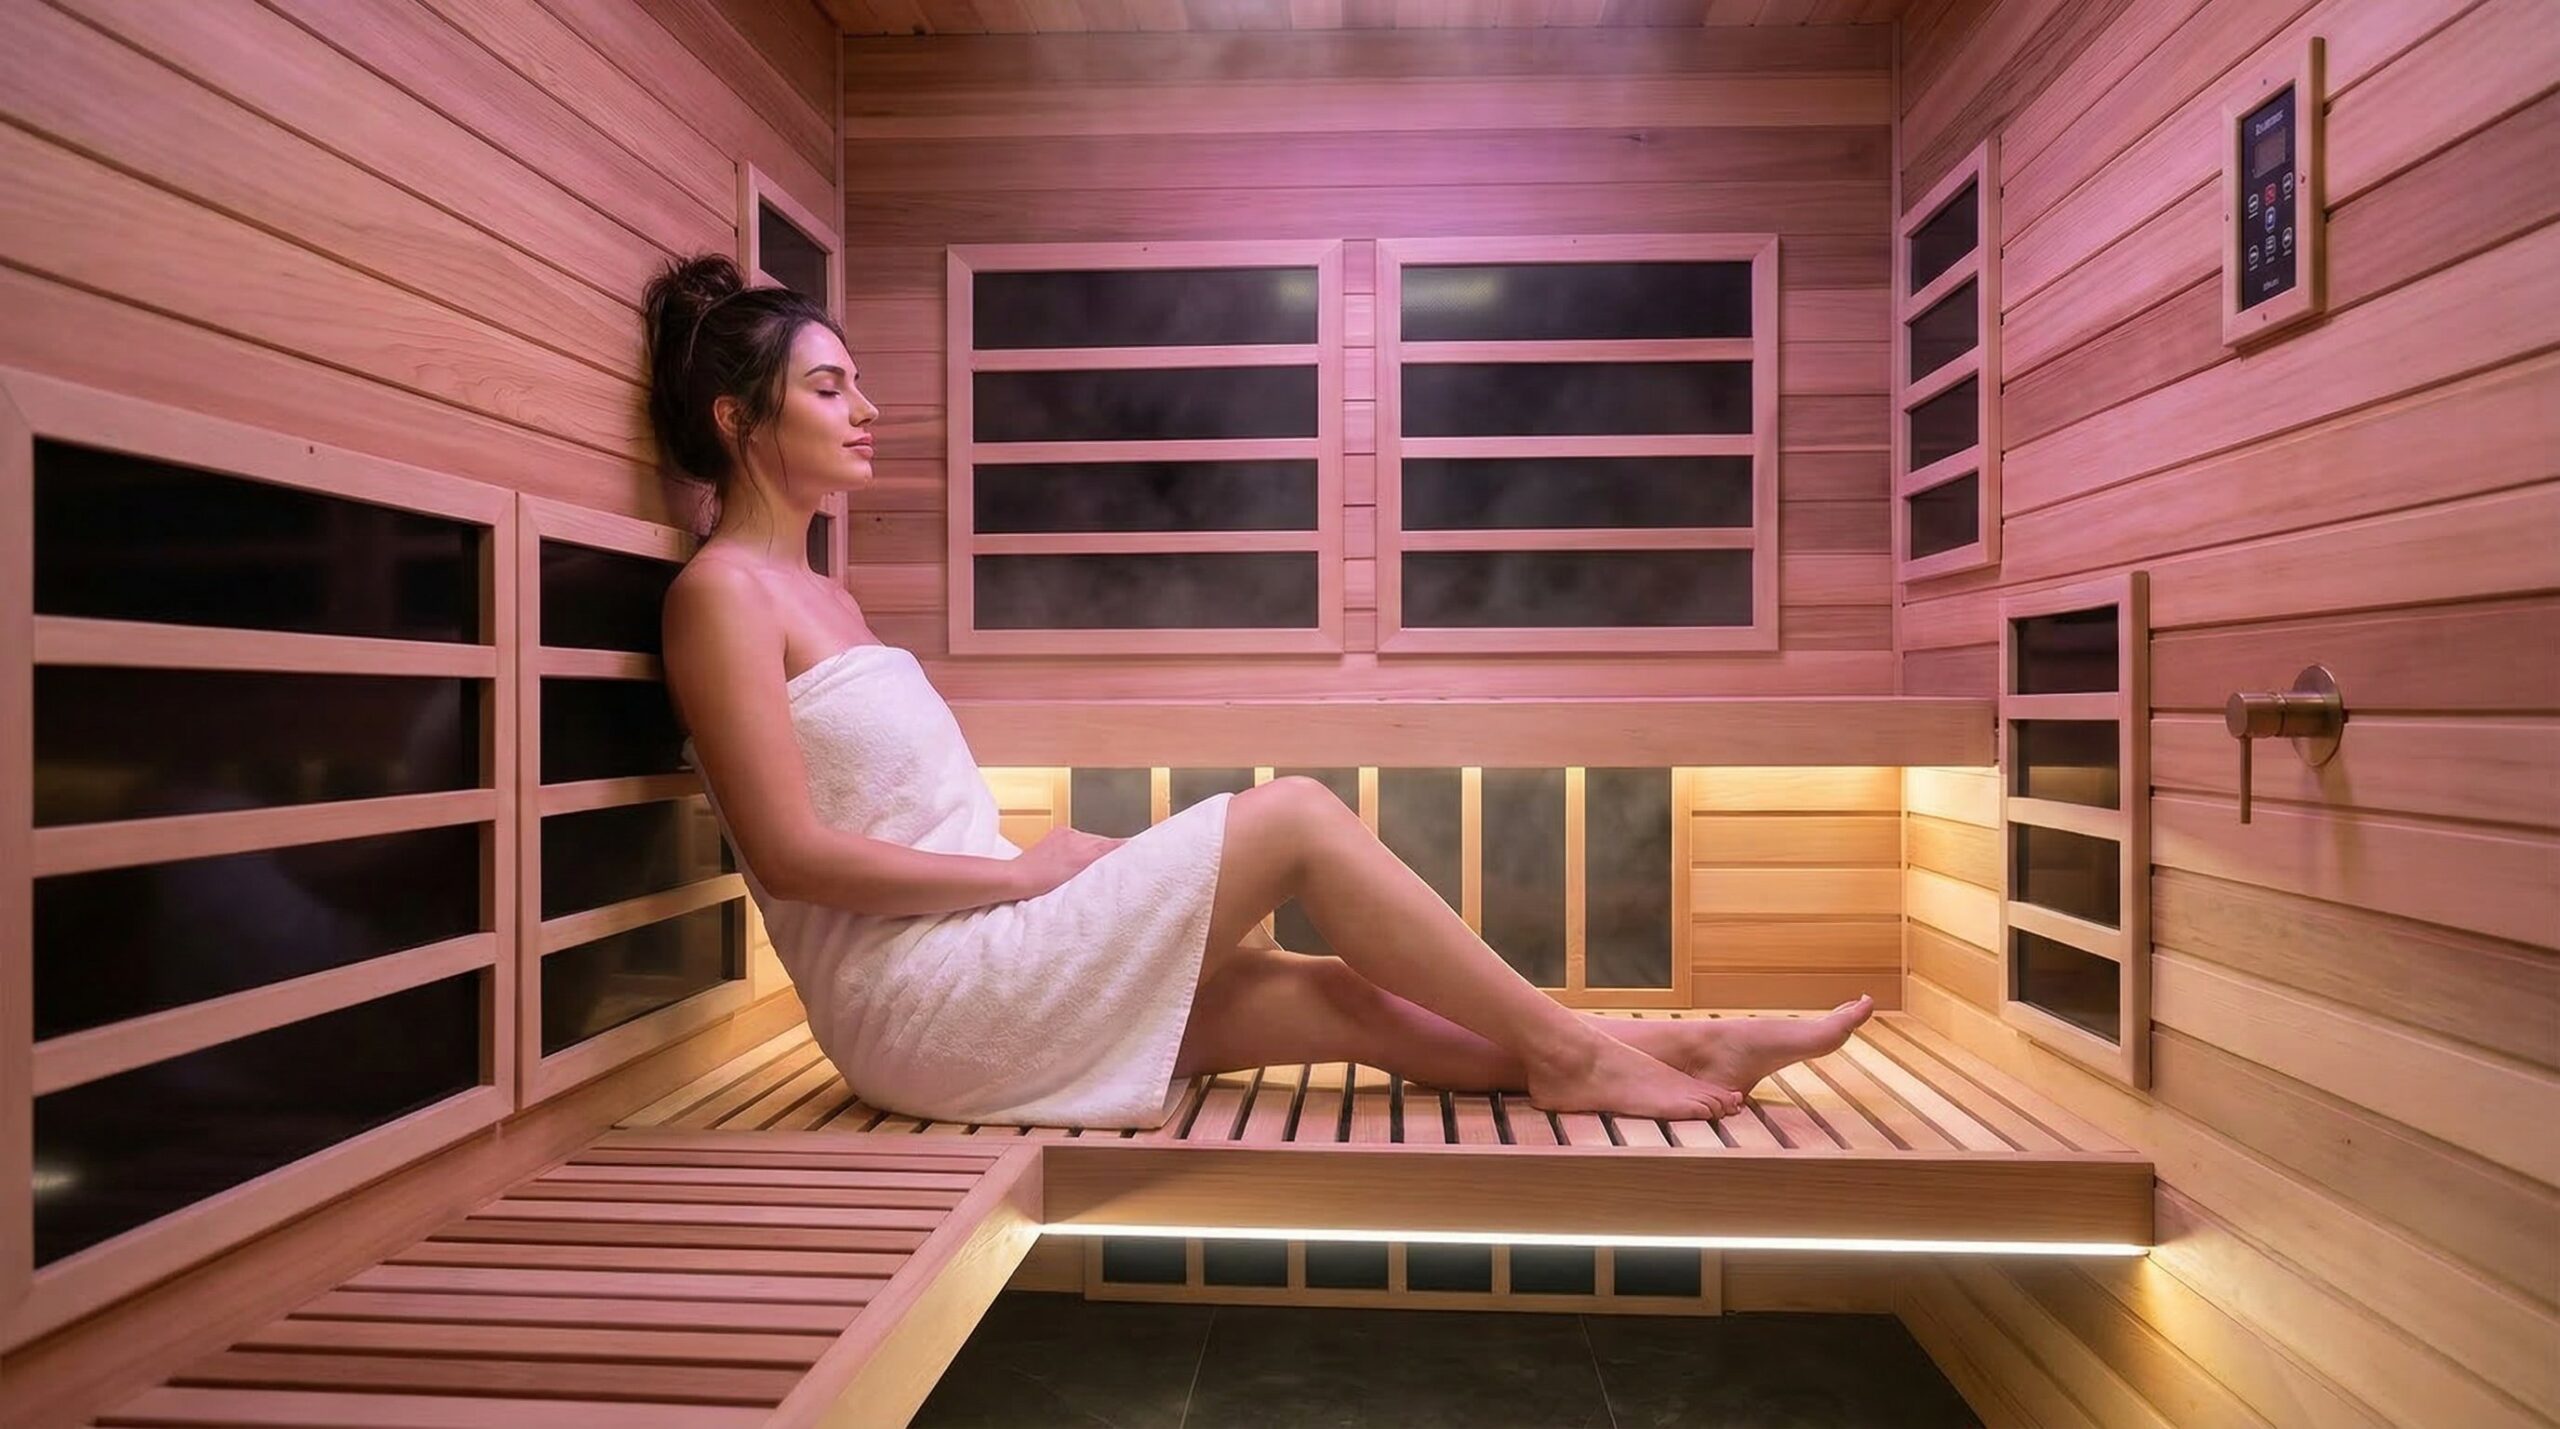
Infrared vs Traditional Saunas: An Engineer’s Honest Breakdown of Which Actually Works Better
Read article
The Infrared Sauna Buying Guide: What 3,000+ Installations Taught Me About What Matters (2026)
Read articleReady to Convert Your Sauna?
Send us photos and measurements of your existing sauna. We'll create a free custom conversion plan with VantaWave® heater placement, pricing, and timeline.